More often than not, most guest rooms become an after thought. Usually its older furniture from a previous home or room. The mattress is old and your guests are too polite to tell you how awful they slept. Honestly when was the last time you slept on your guest bed? I know from experience! Have you ever truly sat in that space? How did it make you feel?
While our homes are not a 5 star resort, that doesn’t mean we can’t make our company feel as comfortable and relaxed as possible. Despite all the things I share in this post, the simplest thing you can do to transform your space is to paint it!
We are going to get into my first Furniture Makeover but you may have zero desire to DIY your current furniture or thrift items to flip. But just keep reading because the transformation is truly amazing!
* This post contains affiliate links. If you order from one of my links I may earn commission at no cost to you!*
If you have followed some of my previous projects, you KNOW I LOVE A MOOD BOARD!

A mood board helps you create a look on paper and then you work to bring that vision to life. If you just start buying random things, choosing a paint color all willy nilly, and throwing down an odd area rug, the room has no direction. And it often looks a bit hodgepodge!!!!
So first thing to think about is the vibe you want (bright, moody, coastal, traditional, modern, minimalist). Then screenshot images online that fit the color pallet, textures and overall look you want. Now you have direction and a vision. You can always make slight tweaks as you progress in designing the space.
Its just paint!
People are so afraid to paint their walls. Paint is one of the cheapest ways to instantly change a space. If your guest room is your kids old playroom and the walls are bright blue or yellow I am talking to you. That is not a very calming or welcoming space for your guest. Now that you have a mood board and color pallet its easy to narrow down your colors. The beauty of paint is if you don’t like it, you can easily paint right over it with a new color.
Our guest room initially had an old tan/brown shade to it from when Ryan first purchased the house. When I moved in, my old apartment bedroom set moved right on into that space. We didn’t change anything. We were young and broke and it wasn’t a priority. Over time I changed out my old comforter set for a neutral white one. It helped to brighten this space but it still didn’t give me that wow, welcoming, calming feeling I wanted for my guests.
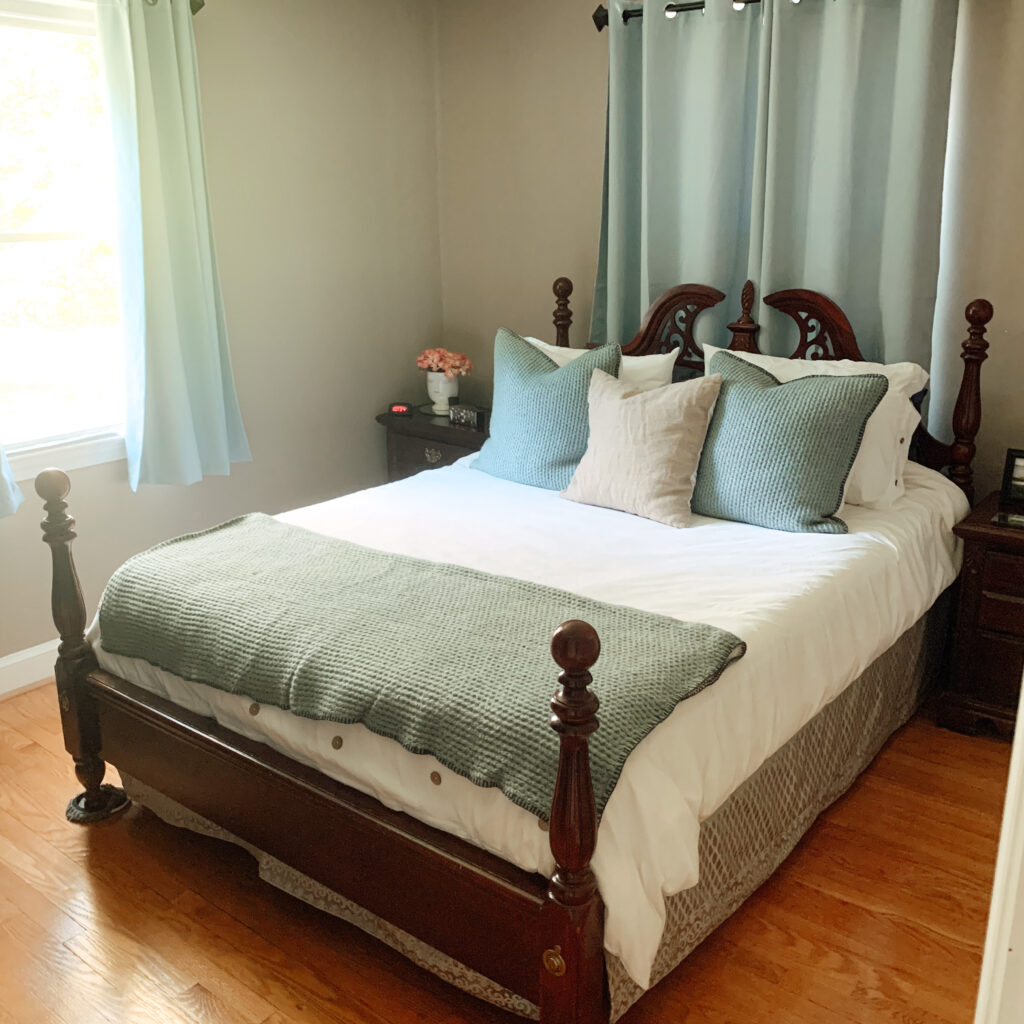
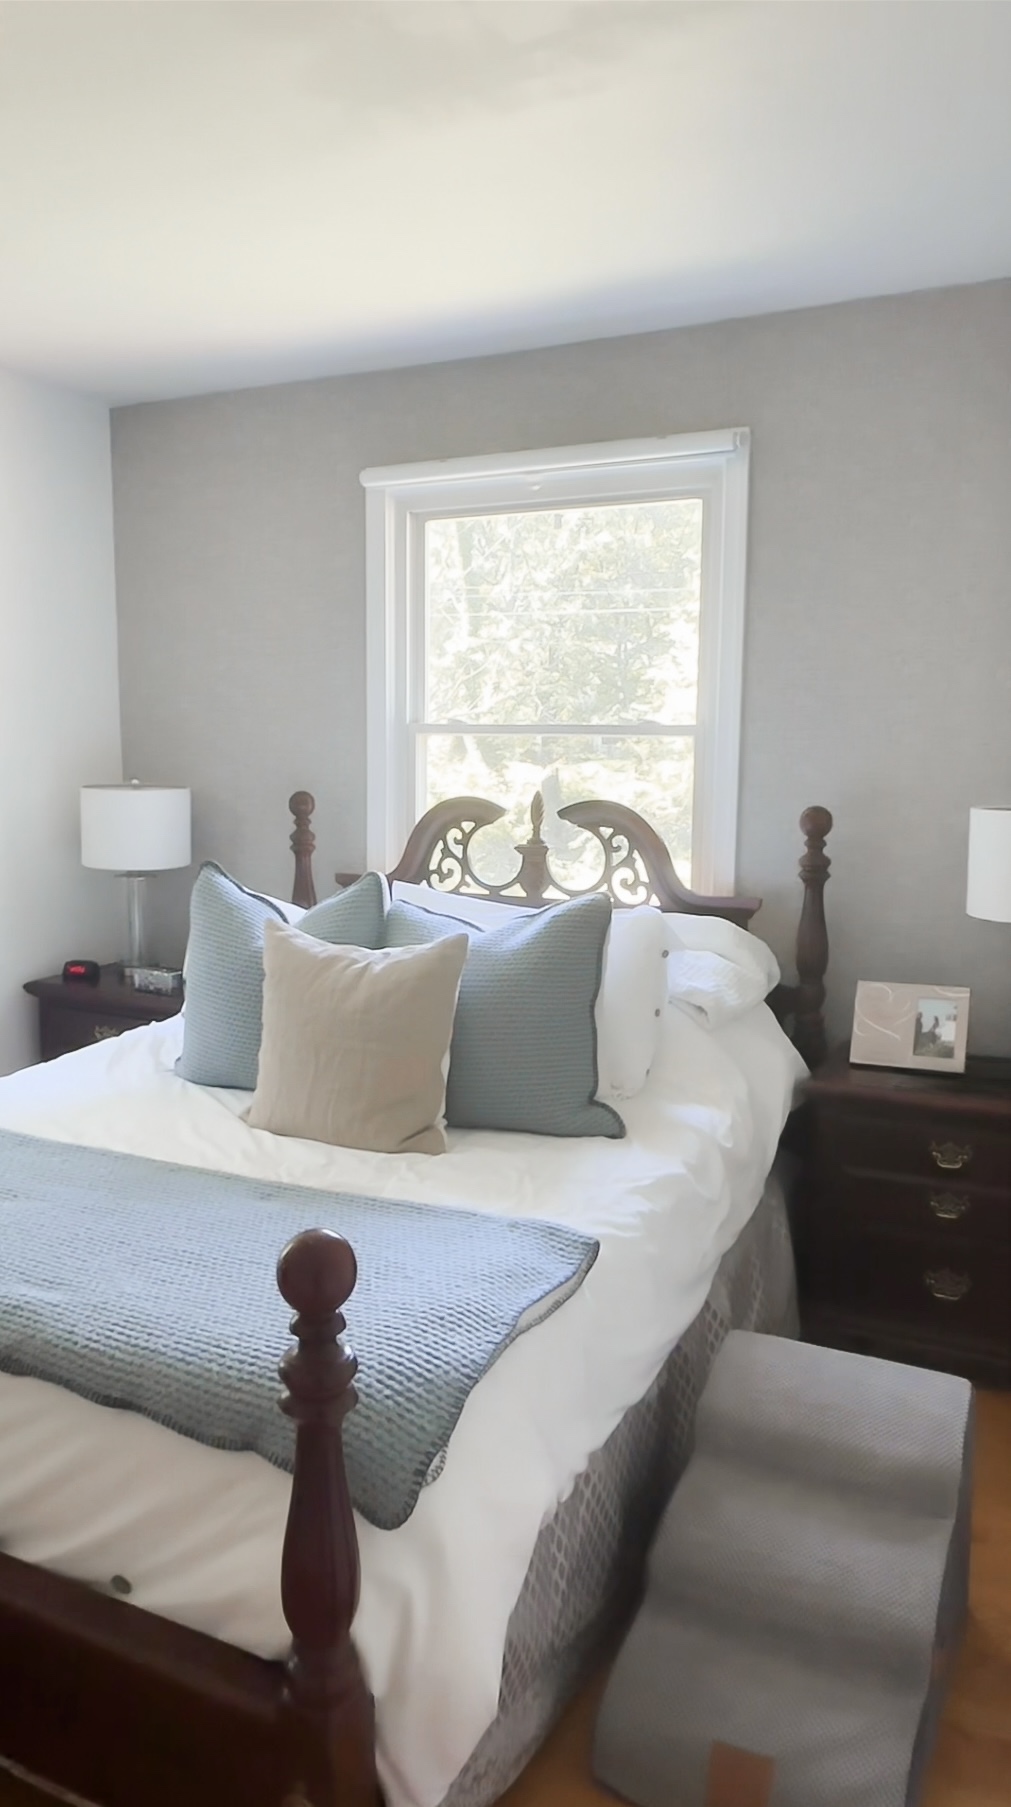
A few years later when we transformed our primary bedroom, we got rid of my cheap apartment bedroom set and moved our wooden bed set into the guest room. I added pillows, (some are sold out so here are similar options pillows, option 2, option 3 option 4 and a throw blanket and it stayed like that for several years.
By now you know my home style is NEUTRALS. I don’t like lots of bright colors or busy patterns. I like calm, bright white and warm neutral hues with a few pops of color. So the first thing I did was paint the walls Sherwin Willams Pure White. All the white in our house is this color. Last year I repainted all the ceilings the same color. It instantly made this room feel bigger, brighter and more welcoming. So even if you don’t plan on replacing your furniture, paint will make your room look transformed!
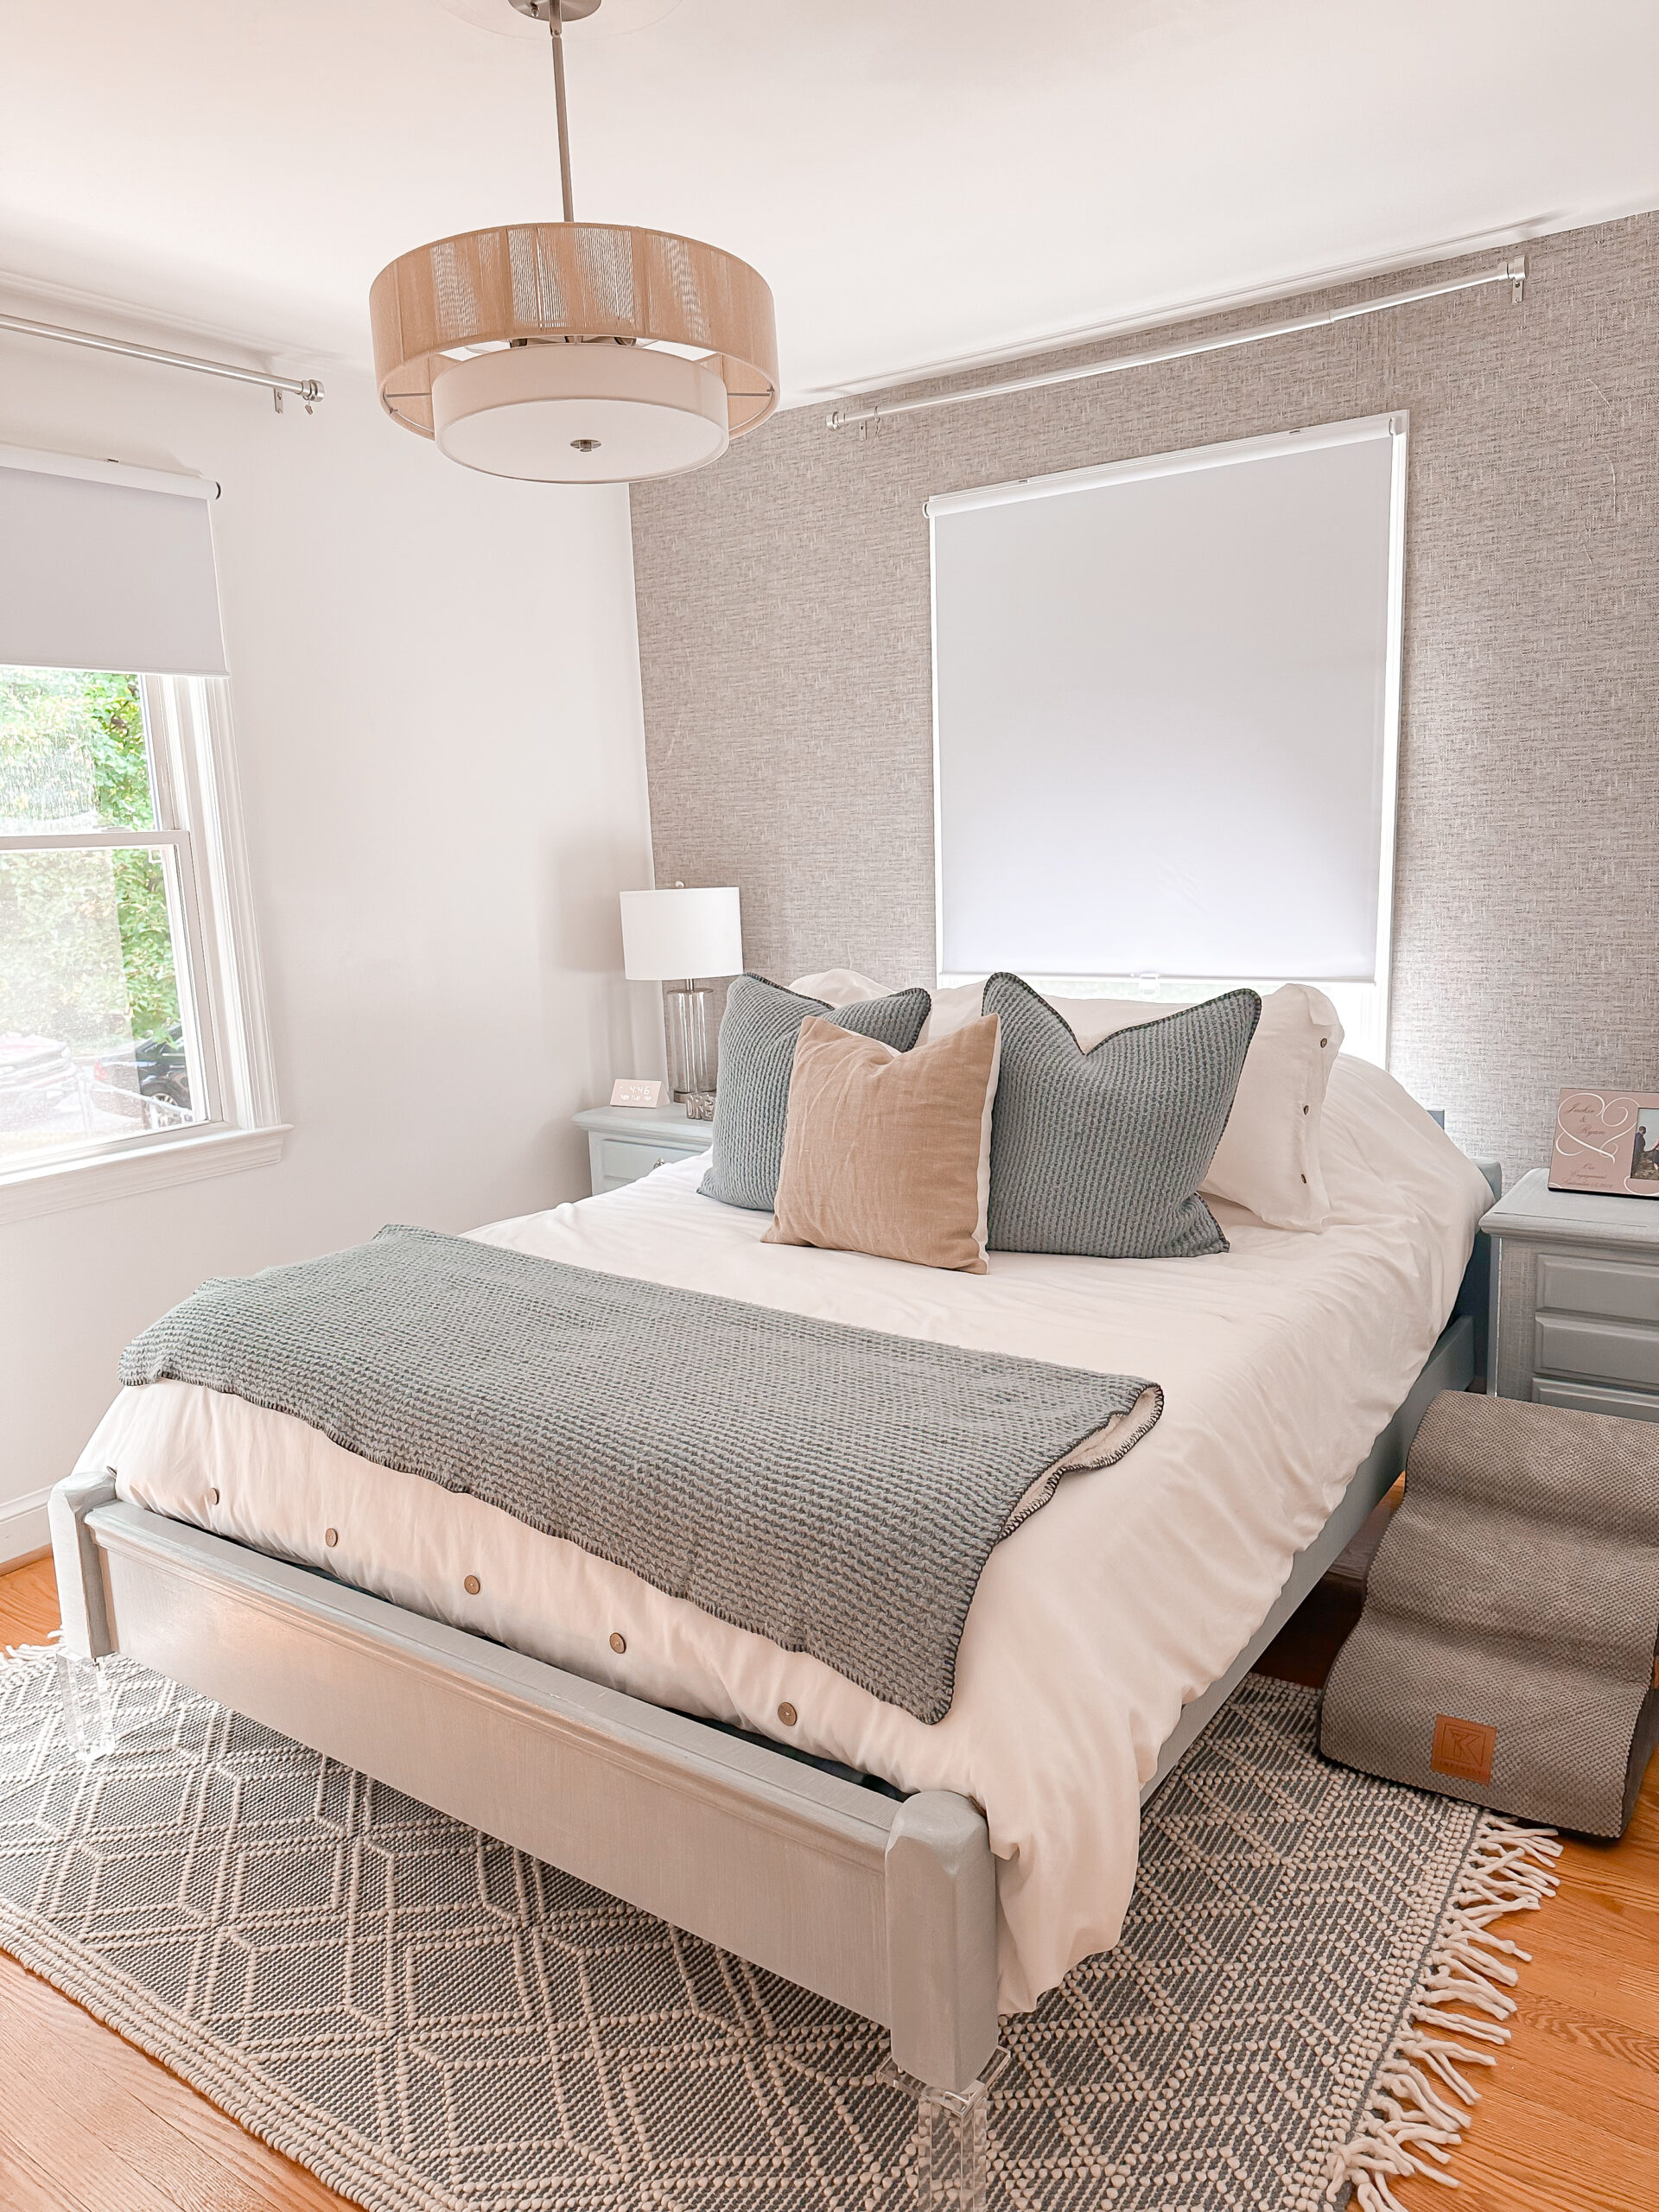
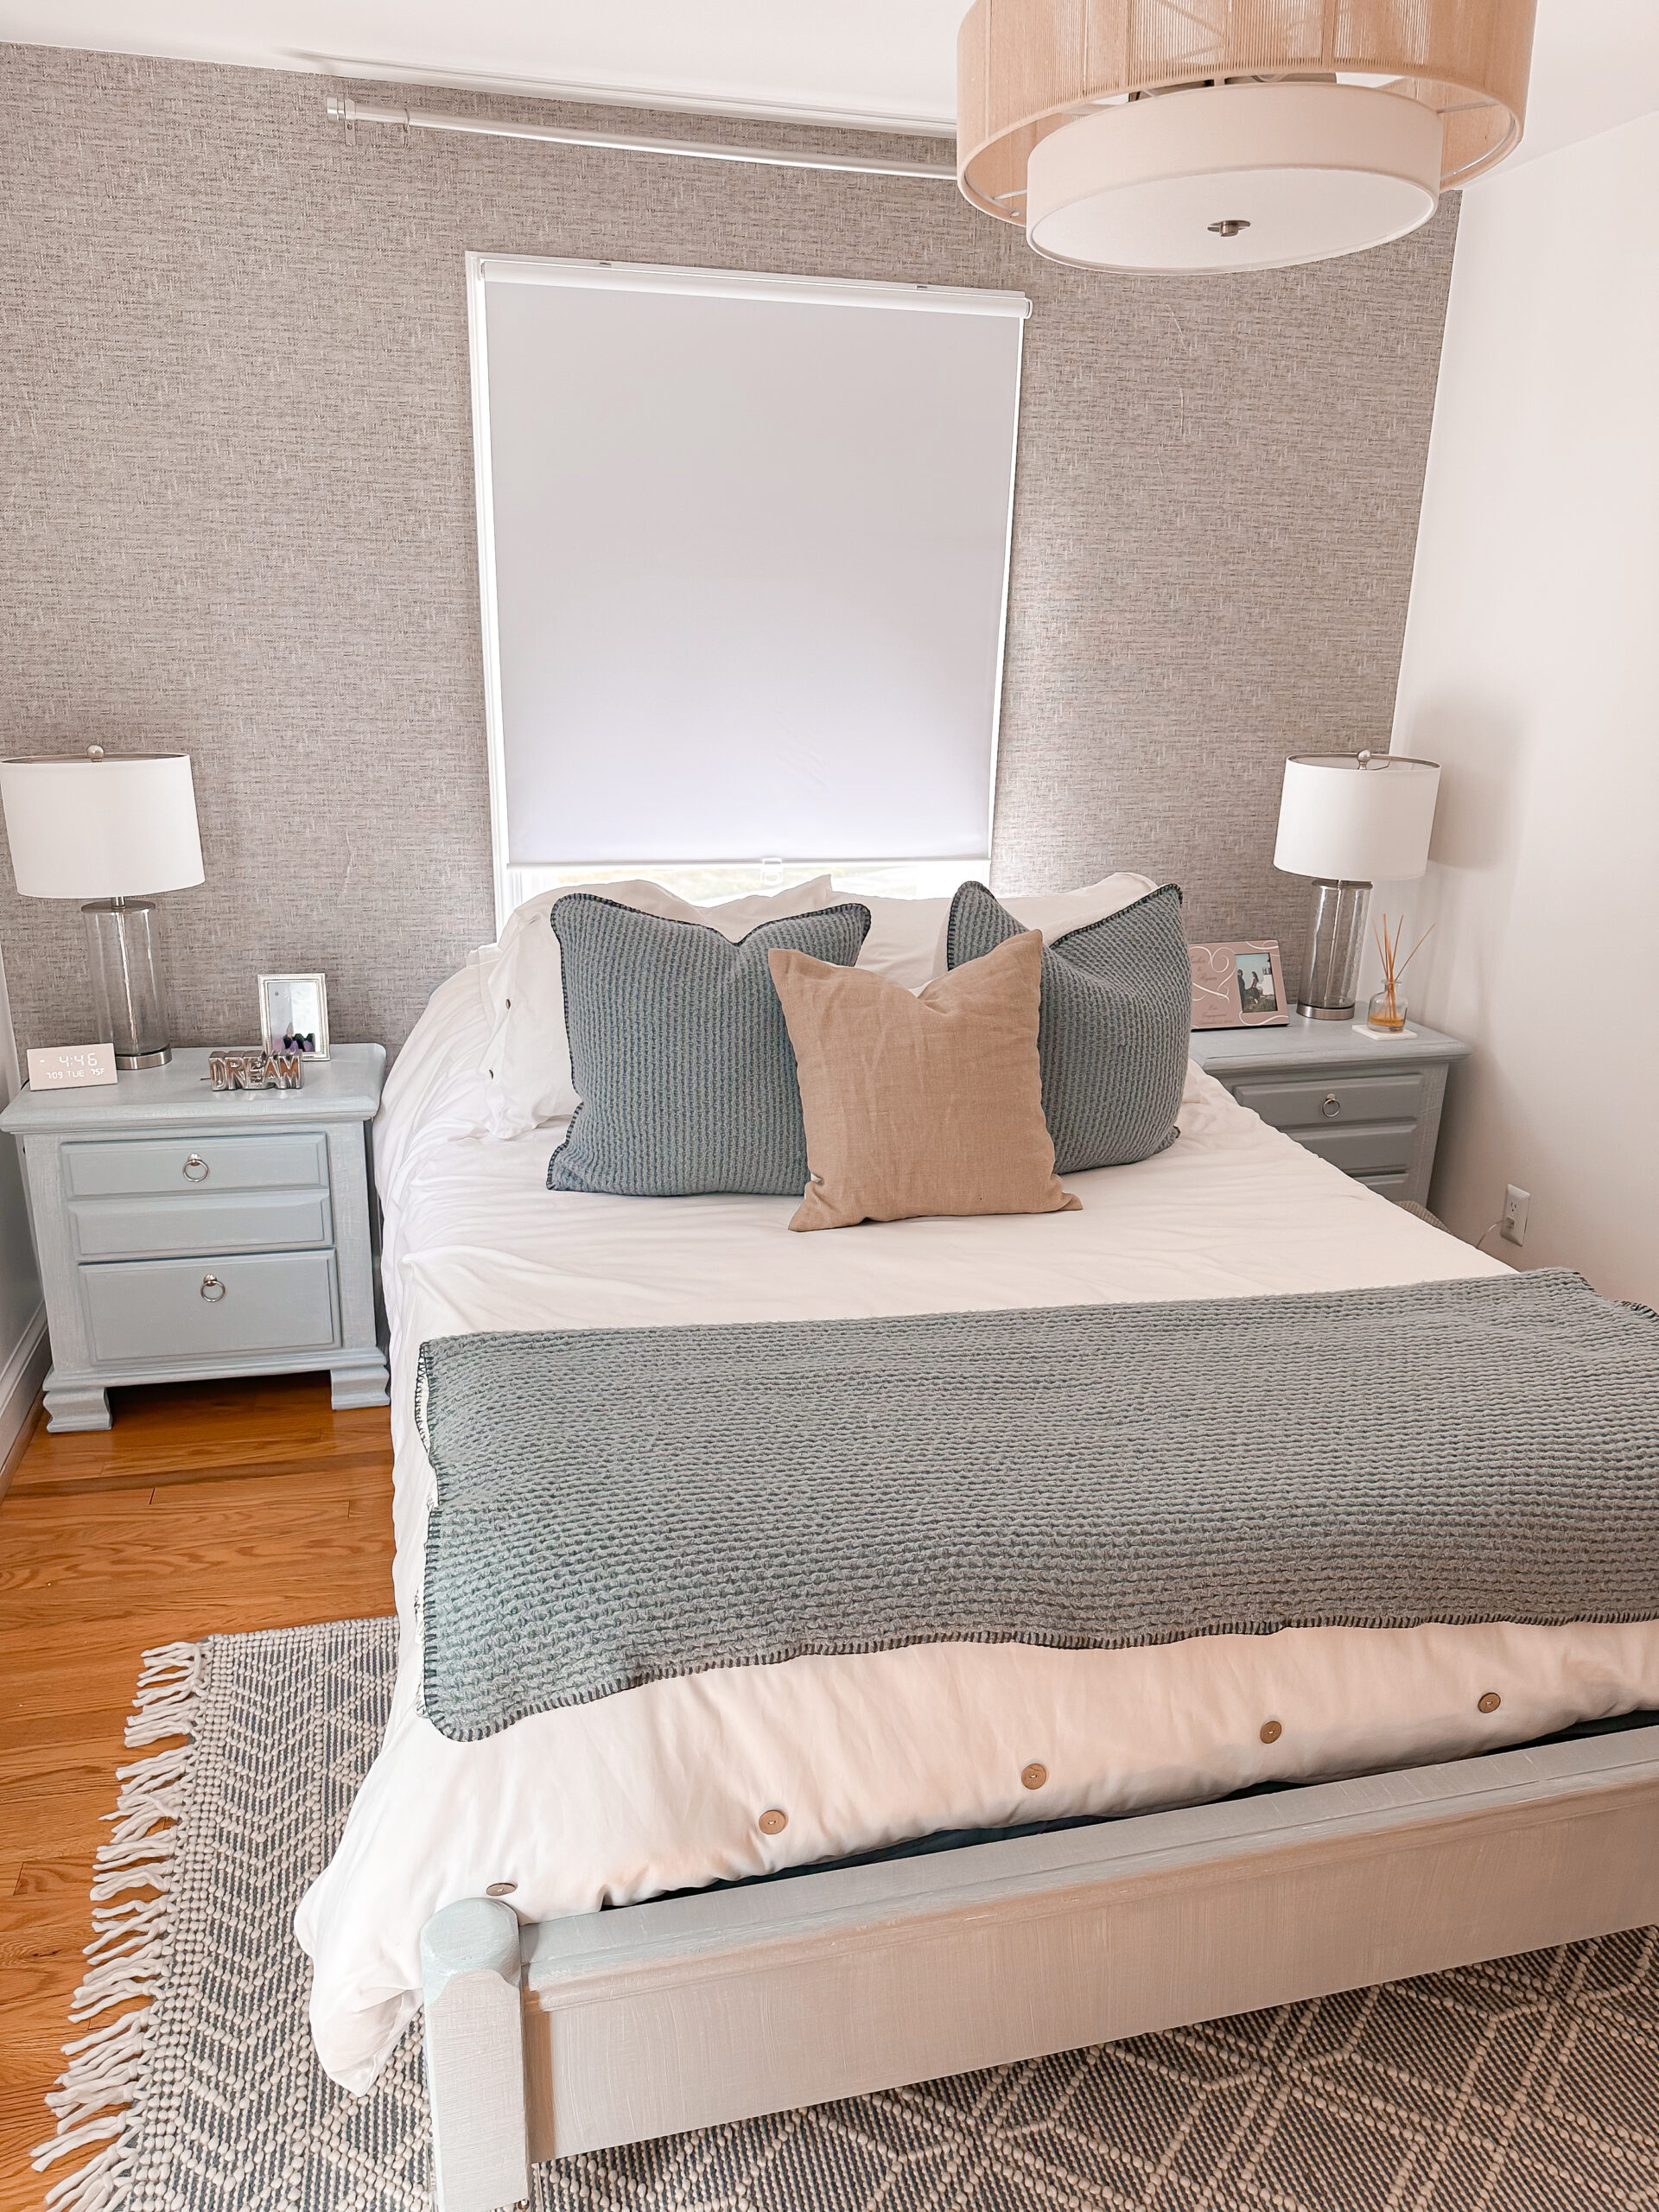
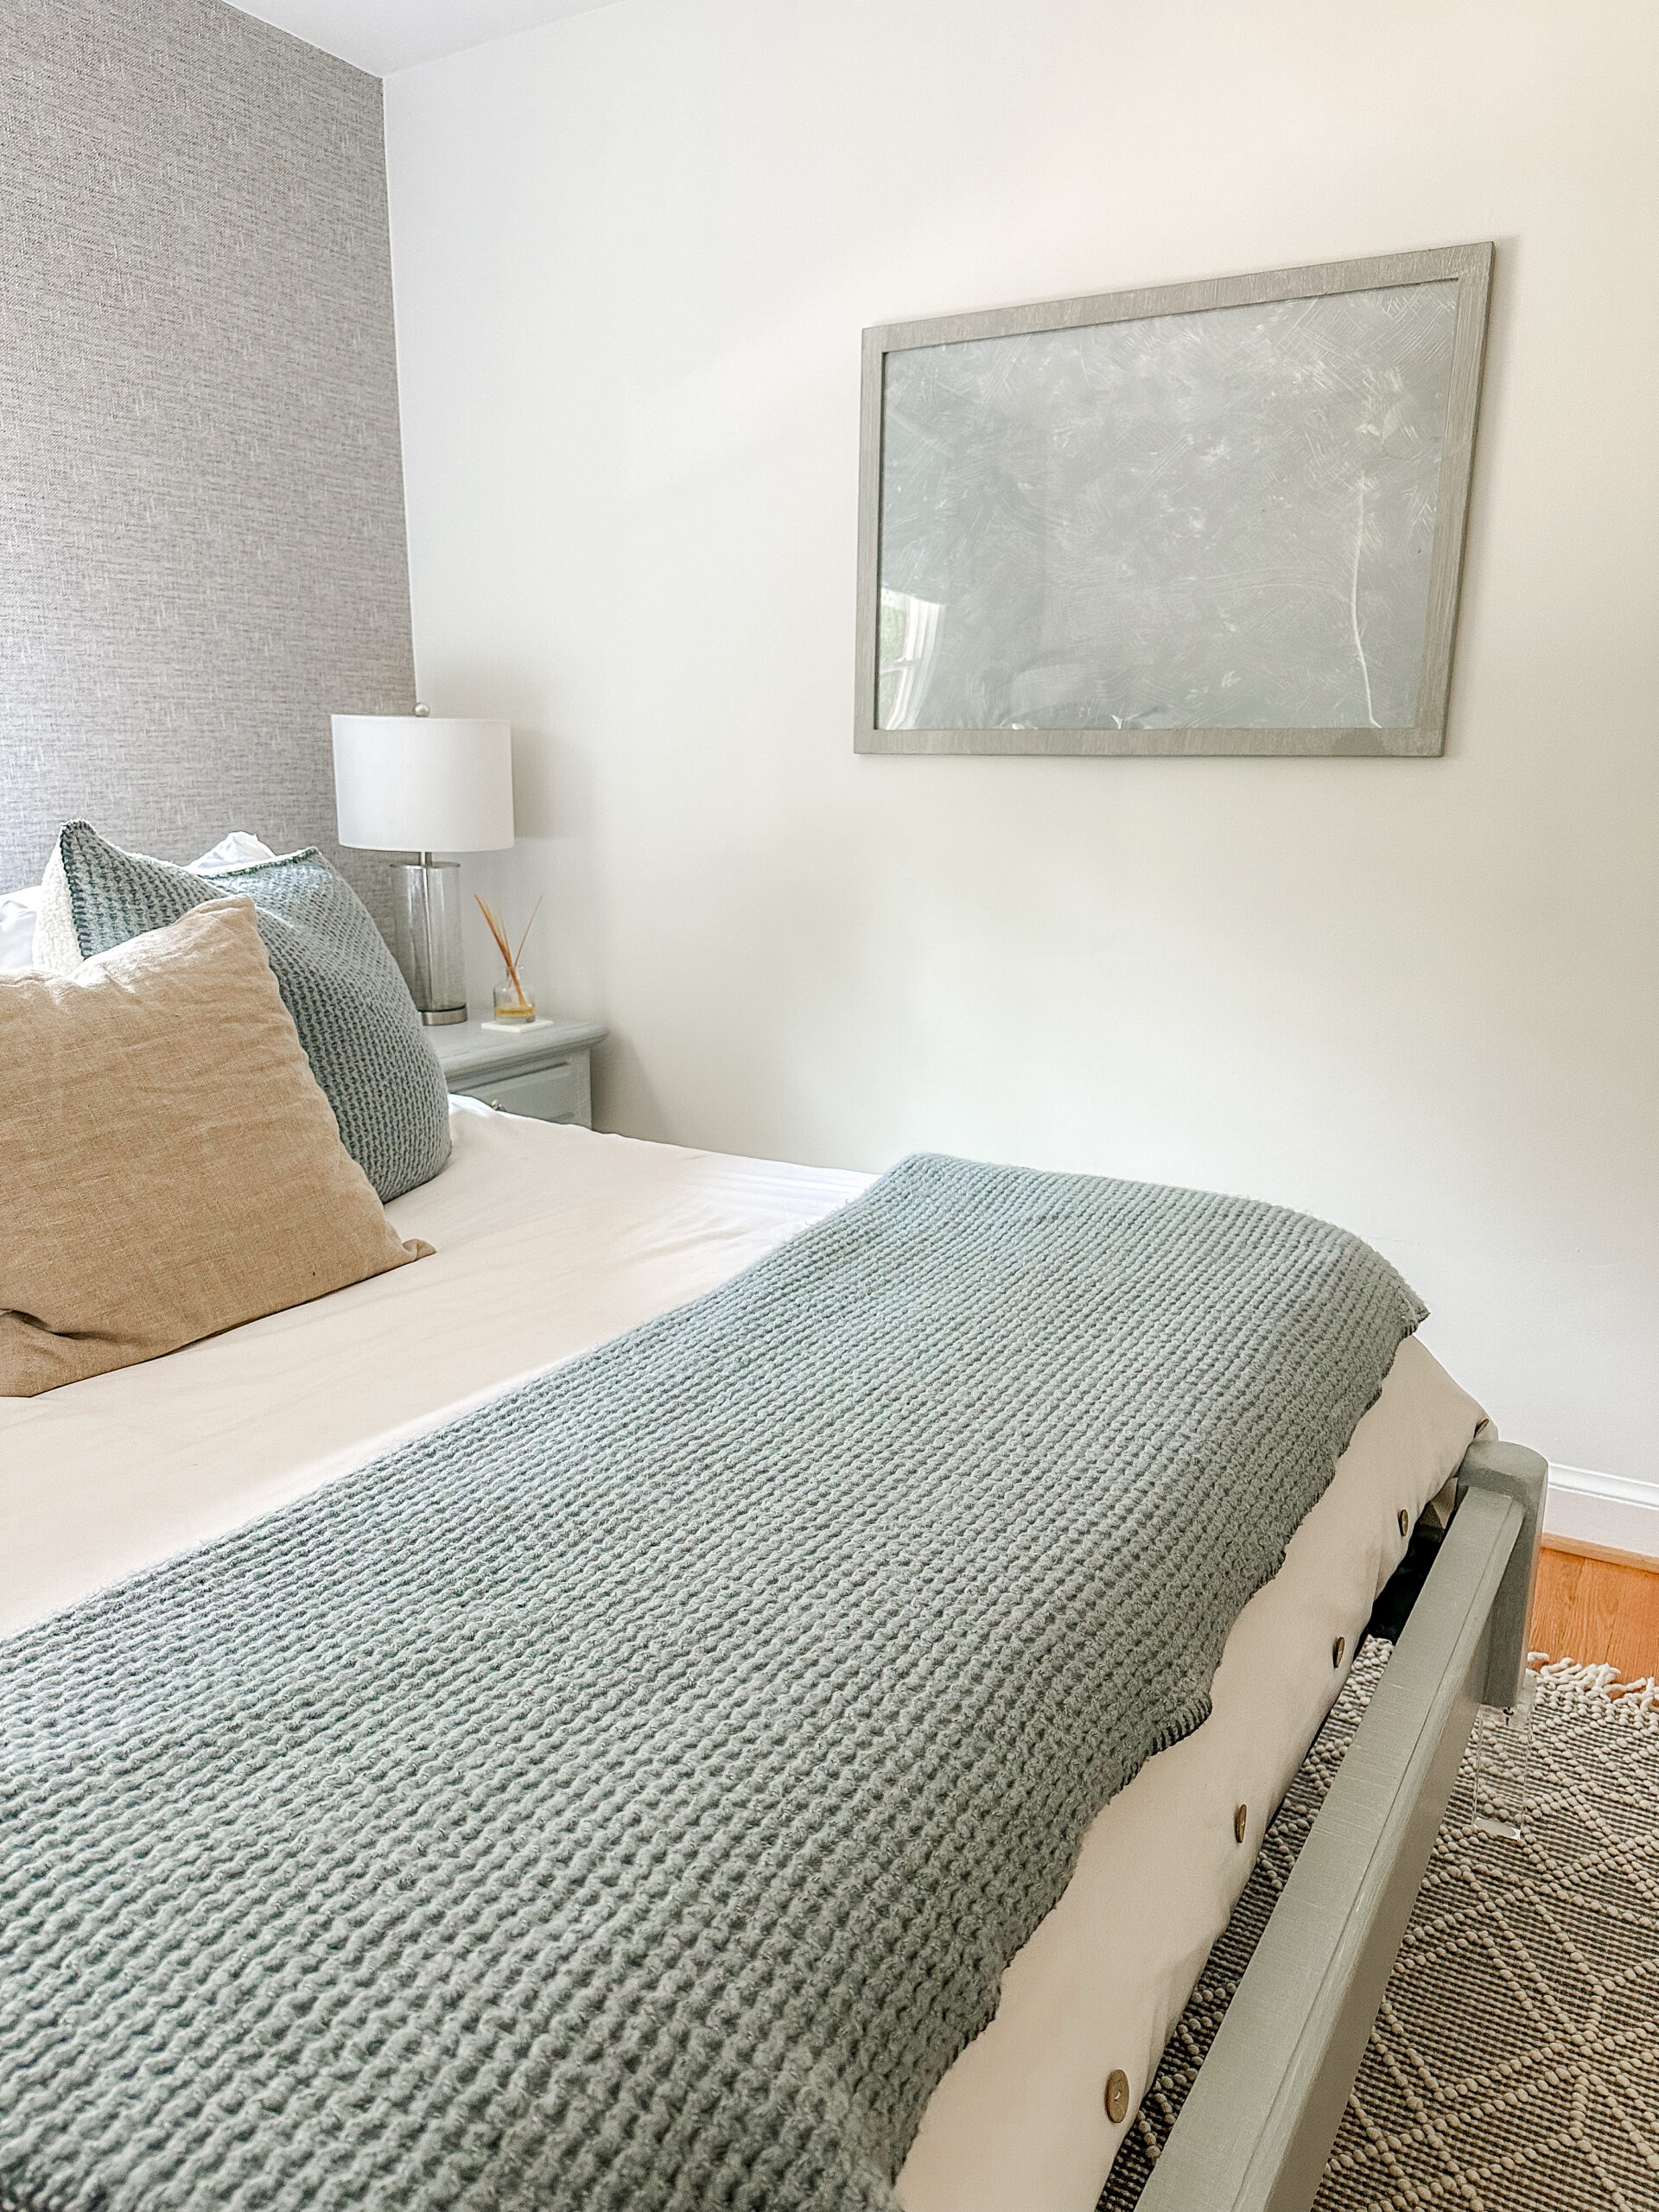
I could have painted all the walls. But I wanted an accent wall. I know some people hate accent walls and prefer color drenching (when you paint the whole room the same color, ceilings and trim too). While I think color drenching has its place, I still love an accent wall. I added this peel and stick wall paper for behind the bed.
Since I am not ready for curtains yet, but needed privacy I installed these shades. I did them myself too! They are inexpensive but give you shade and privacy and are easy to pull up or down.
Furniture Makeover with a Faux Linen Technique
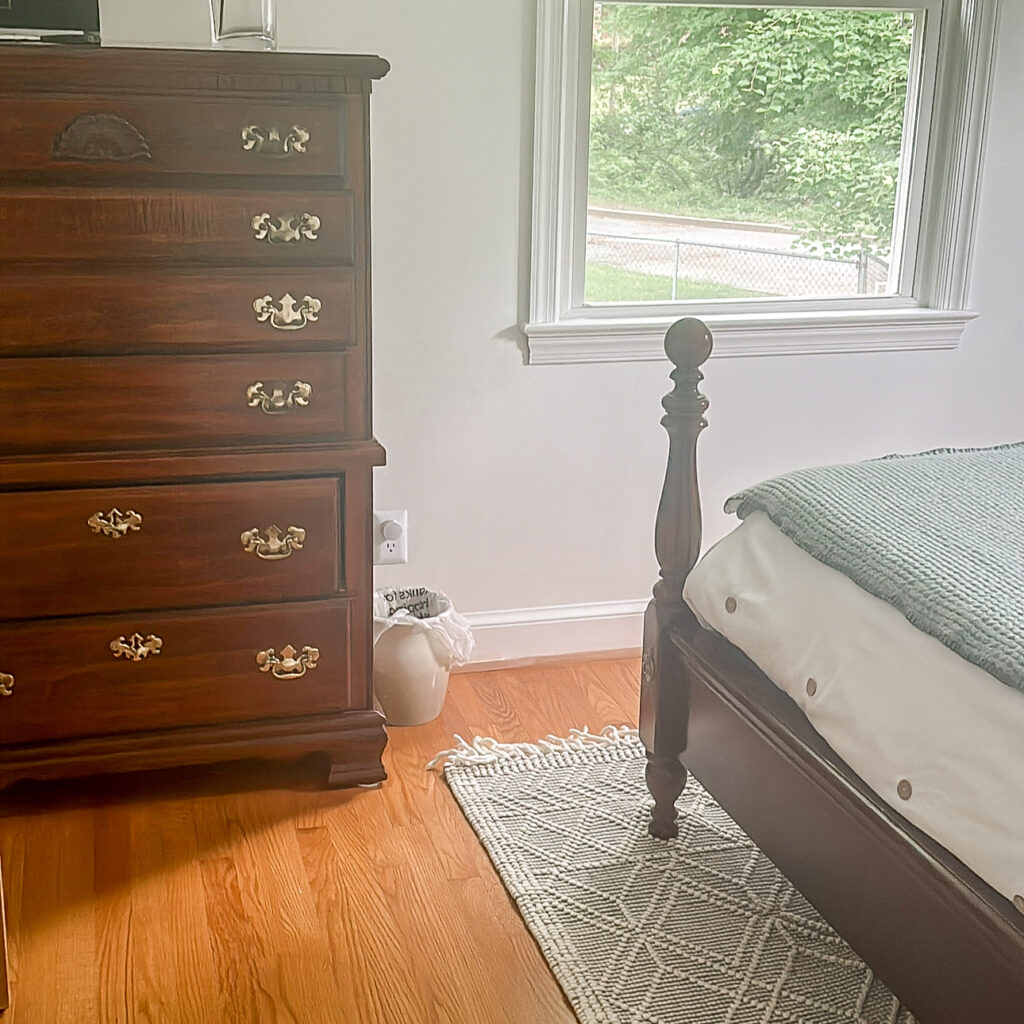
We have had this brown, ornate bedroom set since before I moved into the home. I’ve never liked it. If you know me you know, I dislike the color brown, especially dark brown wood, and most traditional or ornate pieces of furniture. I like what I like and this set was not it.
I knew we would not be getting new furniture for the guest room that only gets used a handful of times a year. Despite that our cat, Big Boy sleeps on it daily and doesn’t seem to mind its look, I do.
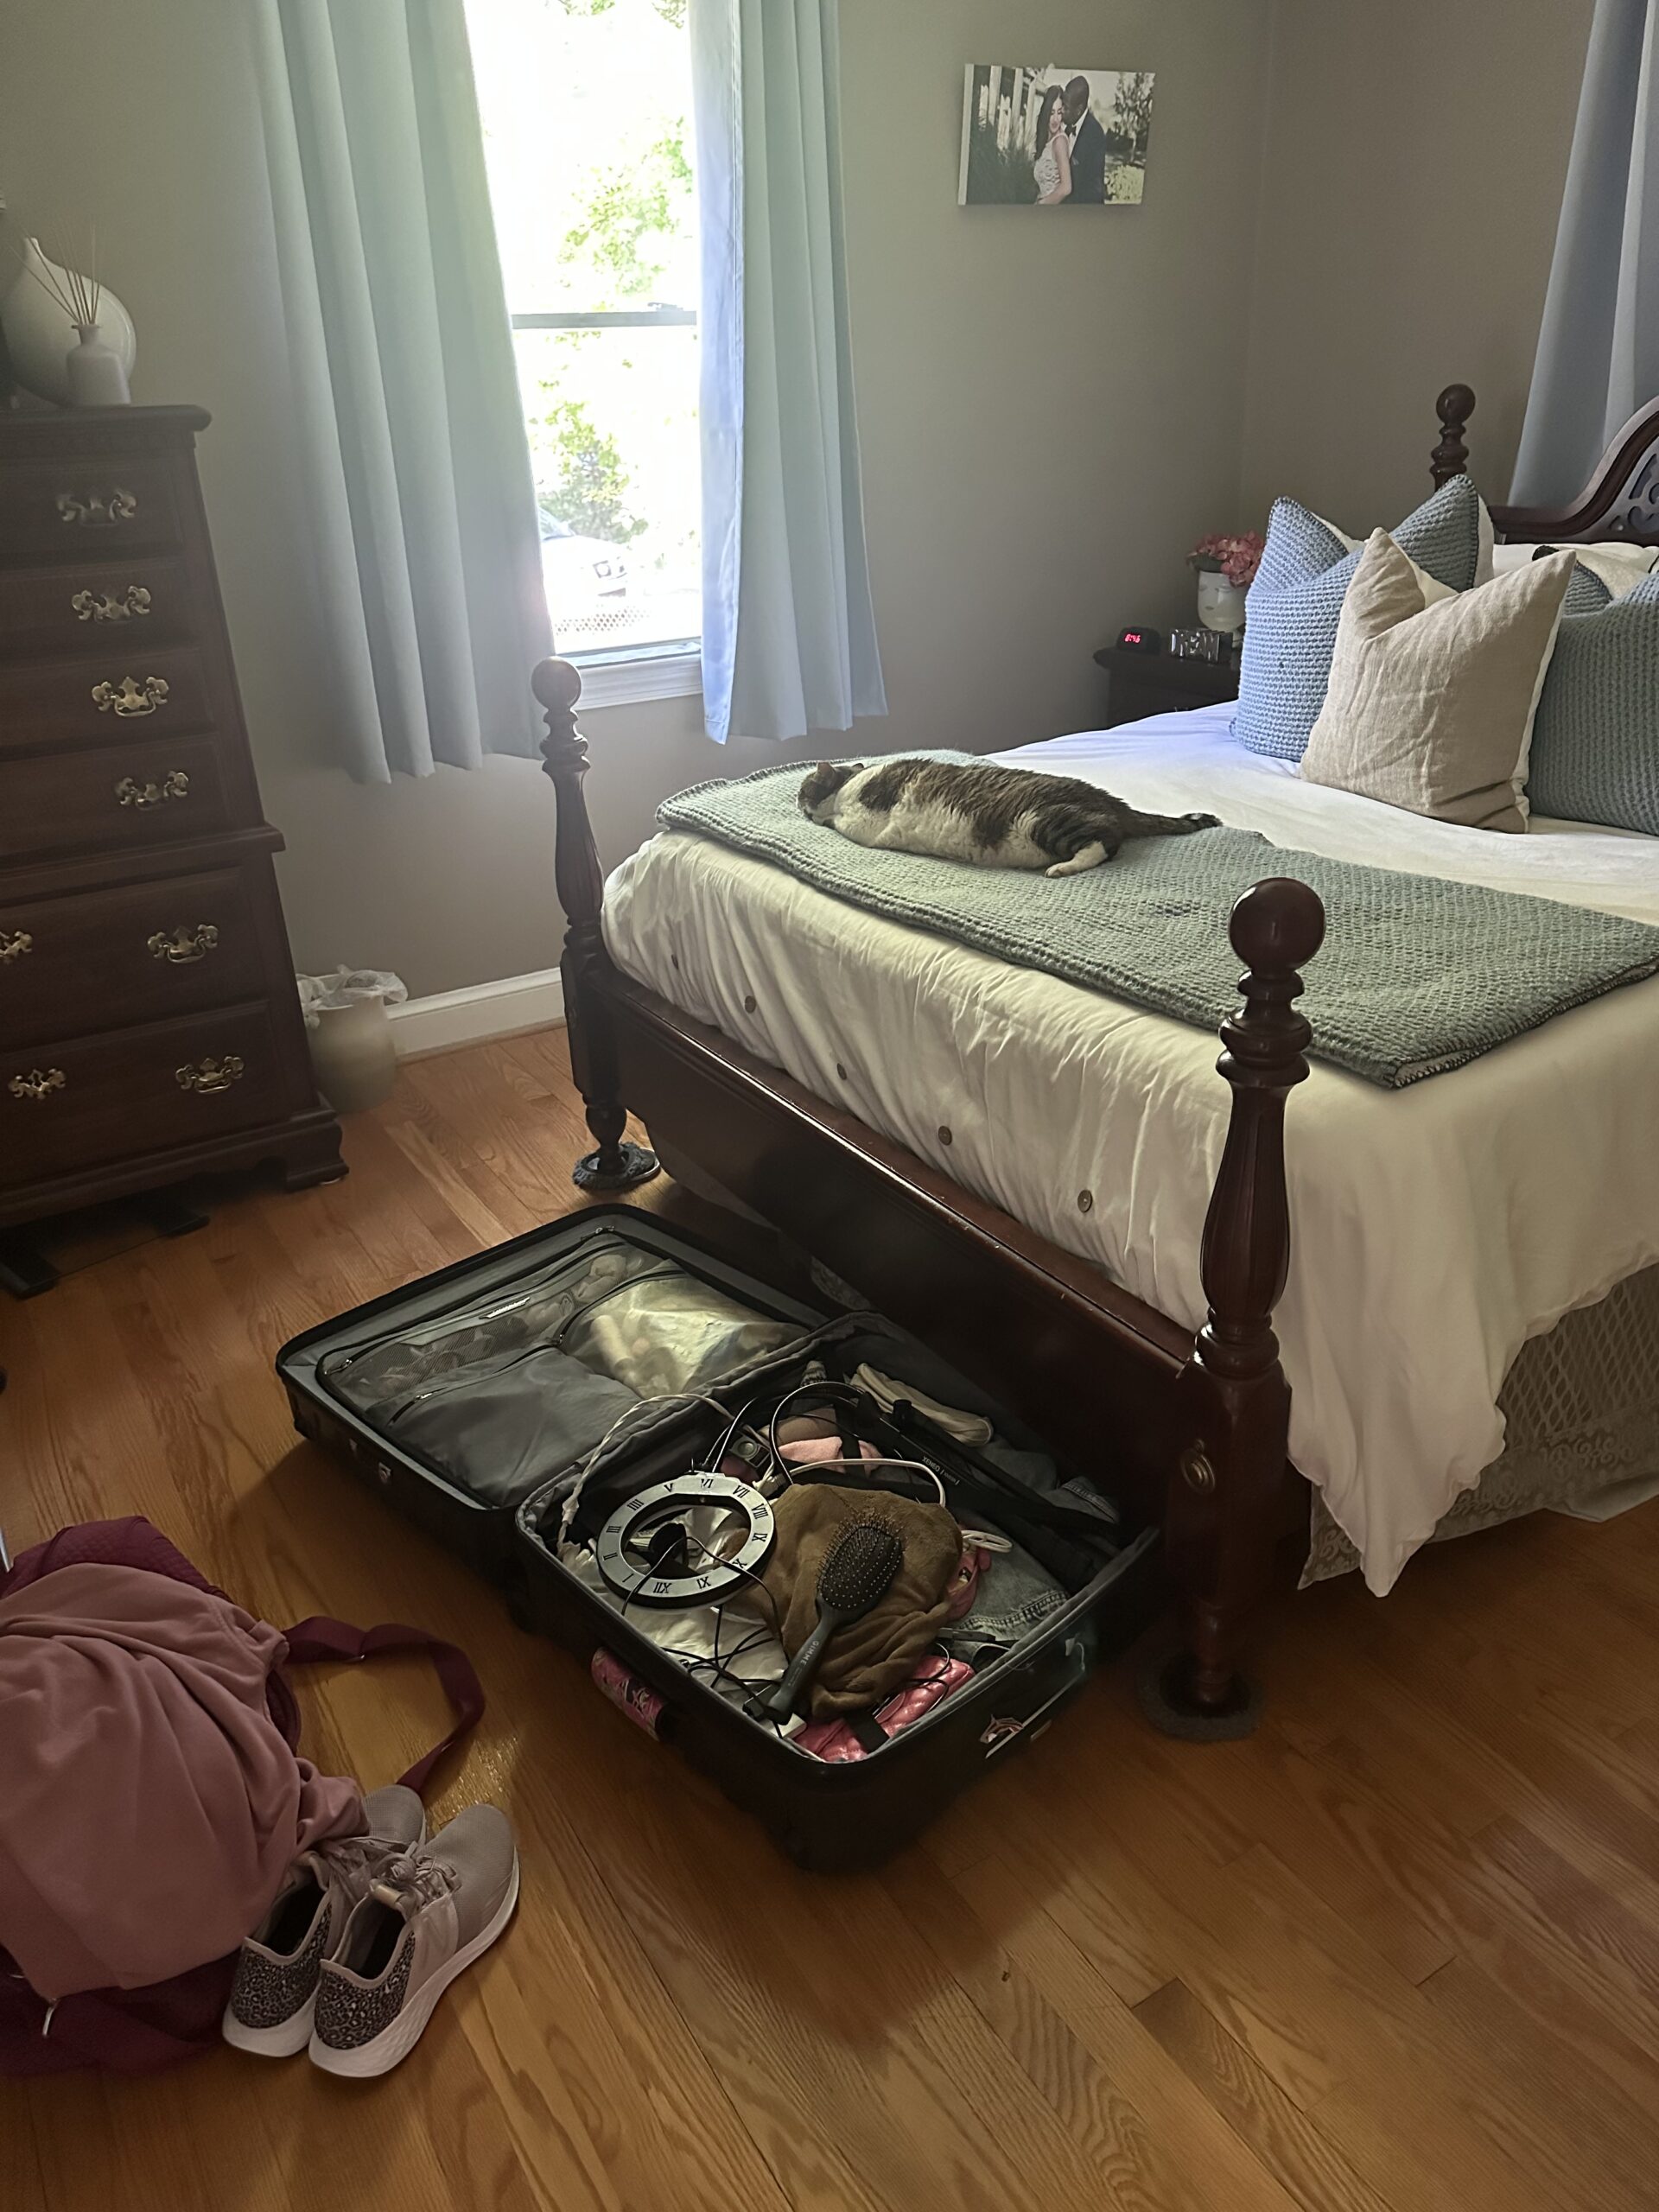
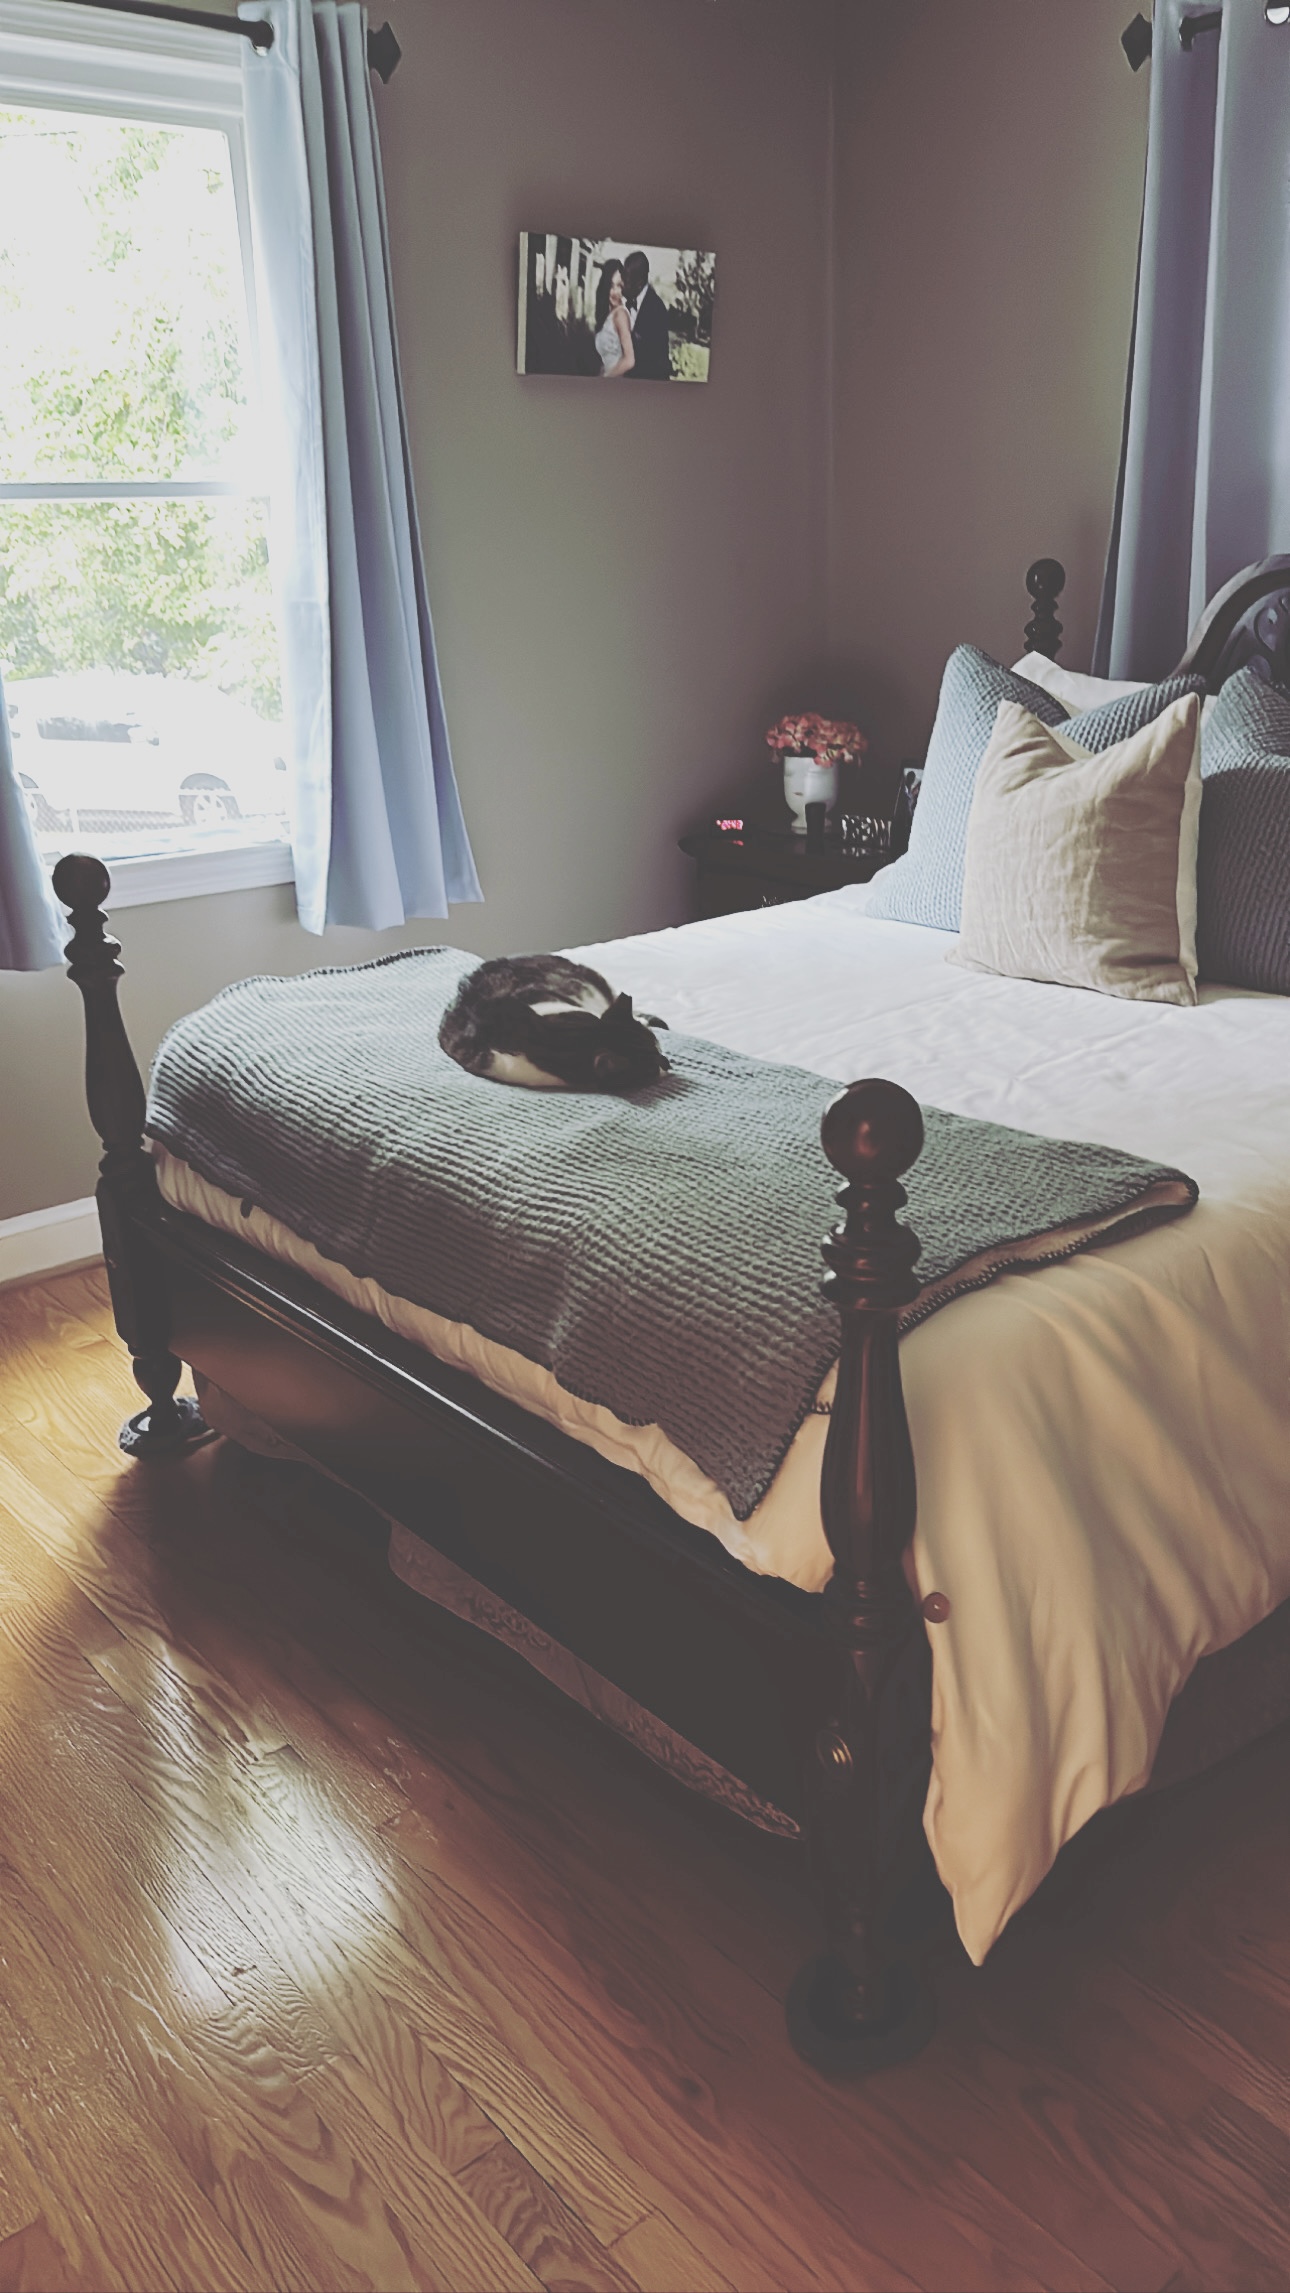
Ive never truly transformed furniture before. Except last years Entryway Project when I turned our old entryway table into a new entryway table by sanding it and white washing it.
I knew I could saw the legs off the bed, hopefully part of the headboard and use the jig saw to remove other areas. I watched some youtube videos on how to use BONDO to help cover up some ornate details and fill in holes from the old hardware. Ive been excited to try the faux linen painting technique I have fallen in love with. I follow the super talented Courtney over at steelbirchstudios . Her projects are always stunning and she is the first person I saw do this technique a few years ago. So I figured id give it a try.
My vibe for this guest room is Coastal Chic. Not the cheesy coastal rooms most people end up doing but light, bright, simple and elegant. Channeling my inner Nancy Meyers. I also have lots of leftover cabinet paint from when I did the laundry room refresh and used the same paint on the upstairs bathroom cabinets. It would be the perfect shade for this room. Its Sherwin Williams STARDEW .
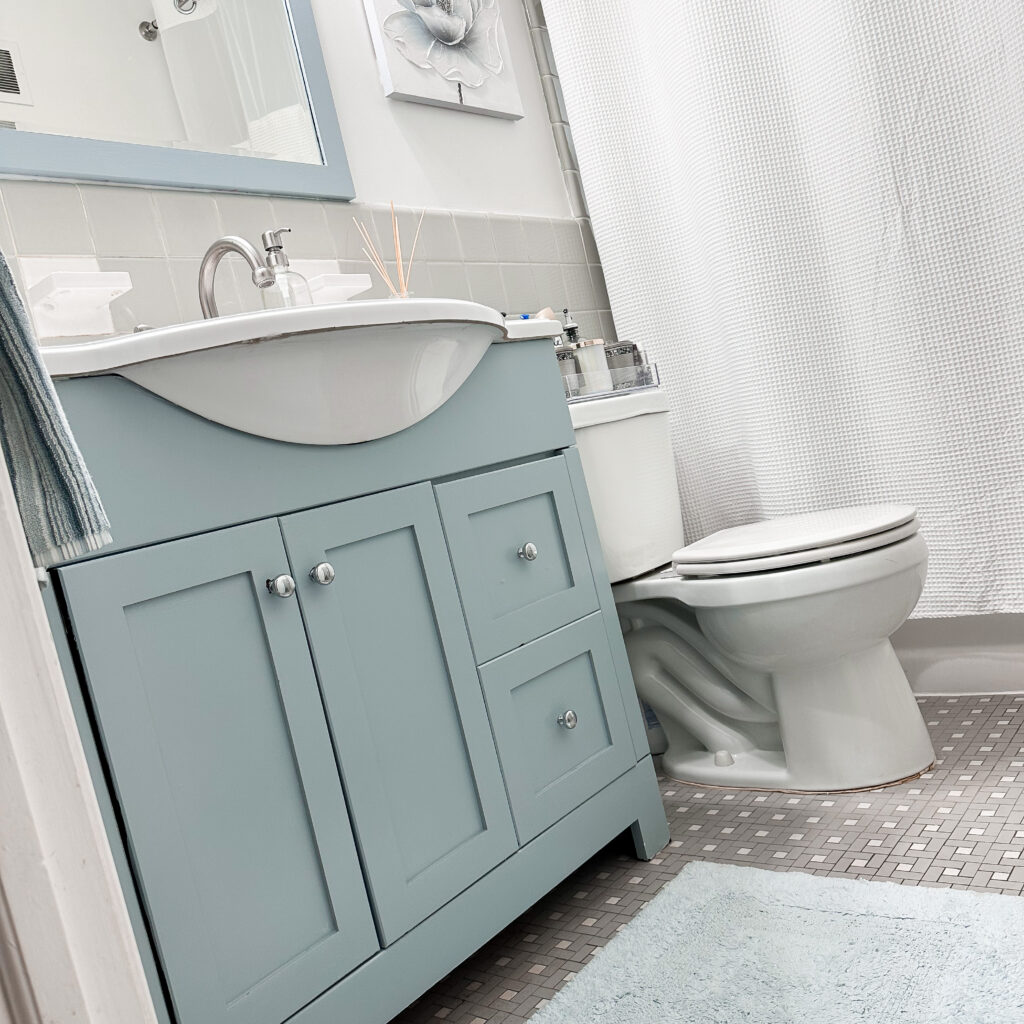
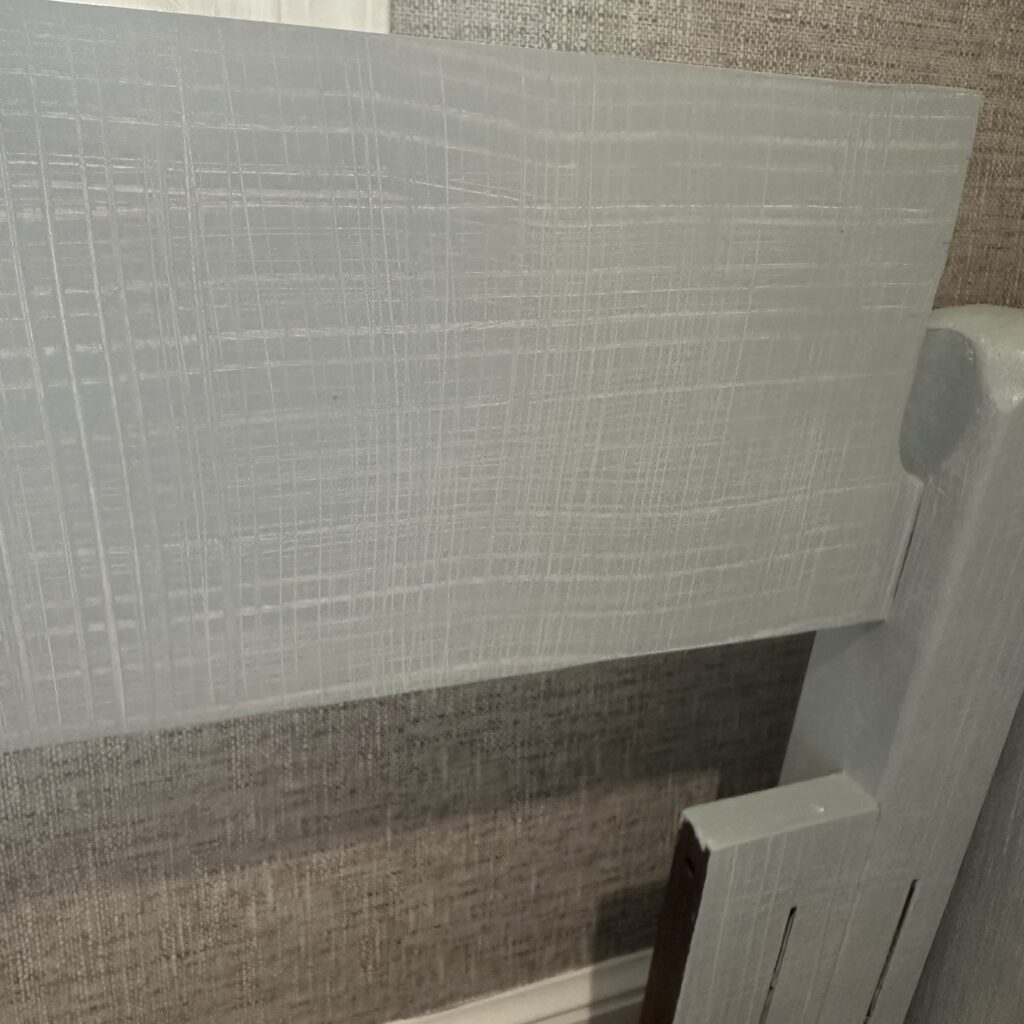
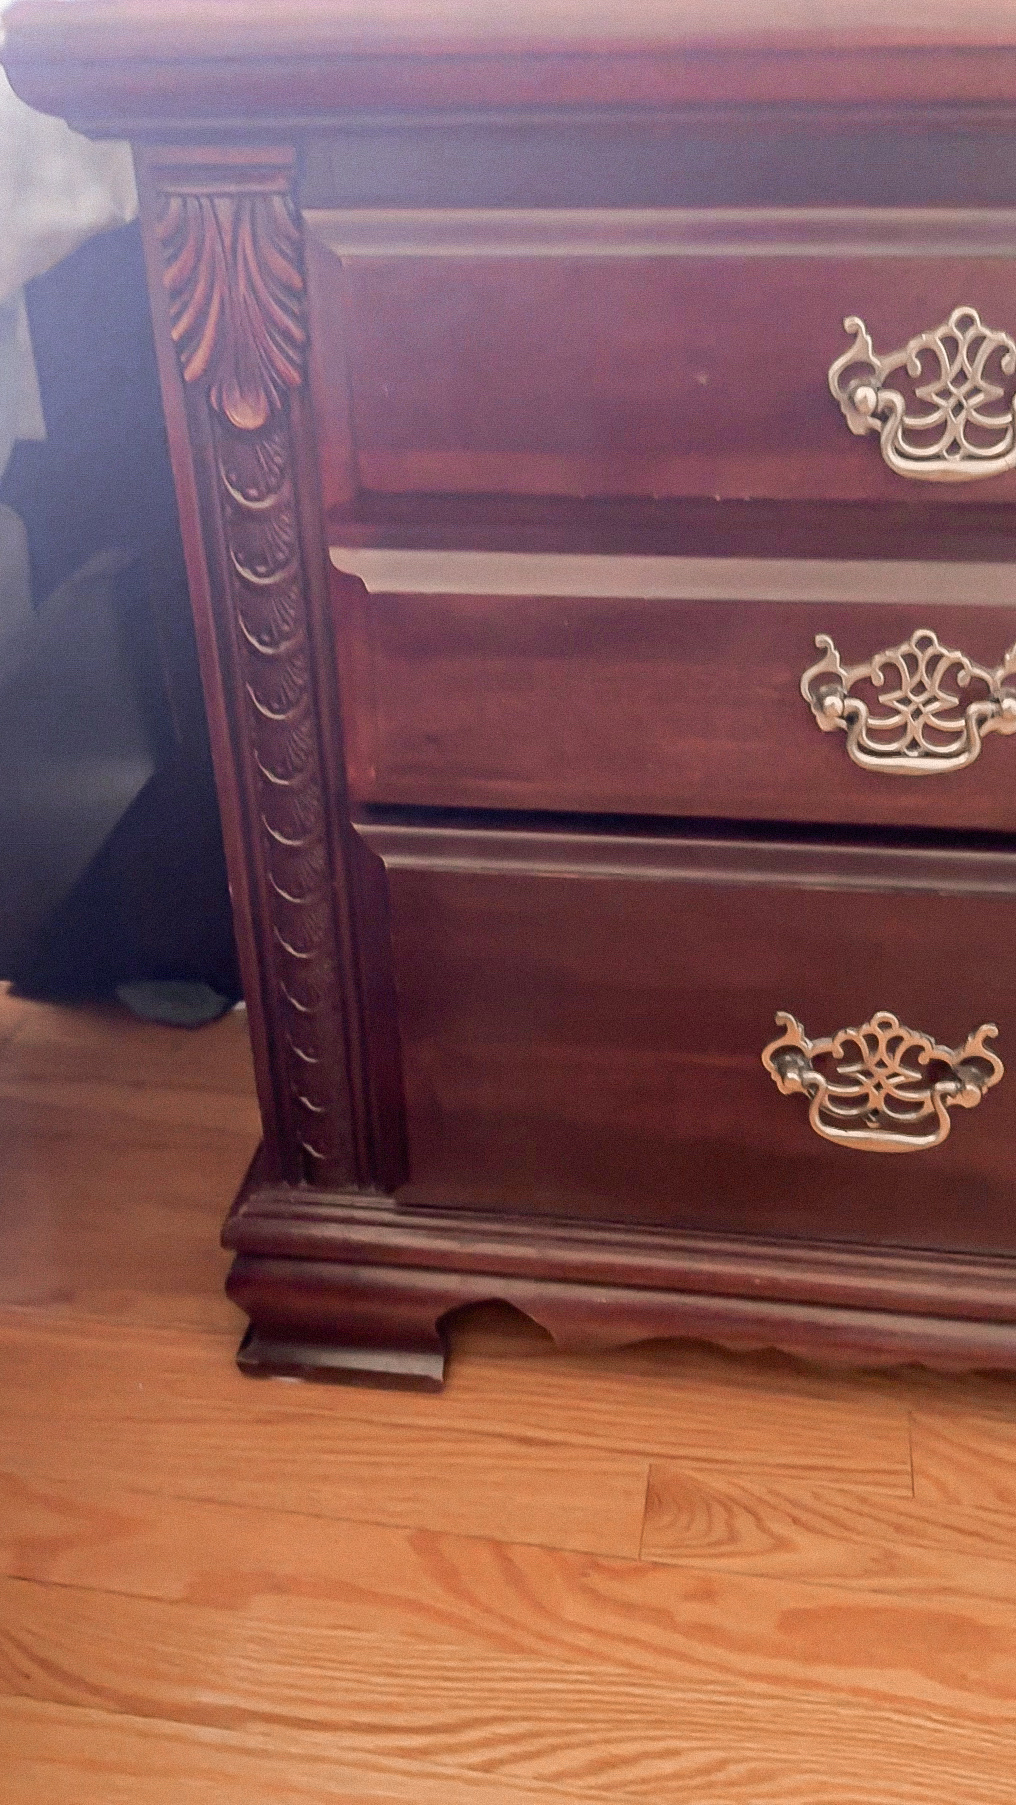
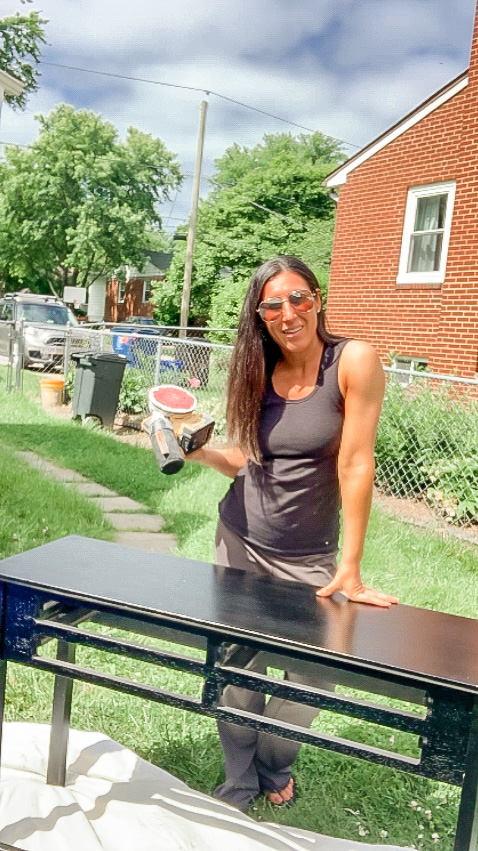
Ive watched Courtney’s tutorials and a few others on youtube and said lets give it a try. I first had to pry off some details on the nightstands and dresser. To cover those gaps I used bondo . Once the Bondo is dried I sanded it off using a sander. I started with 50 and 60 grit. Then I used 220 grit. I also used a jig saw and a multi tool a few times. The jig is my new fave tool.
I started this project when my husband was away on business. Last year when he was at the same conference, I made over the laundry room. I guess I need him to travel more so I can get more DIY projects done!!!!!
Here are the tools I used for the painting technique
Check out day 1 furniture makeover
Day 2 of the furniture makeover
Day 3 Furniture Makeover
Day 4 Furniture Makeover
I am sure I was entertainment for many of my neighbors. Between my husband and I always doing projects, the neighbors must always be asking themselves what are they doing now!!!!??????
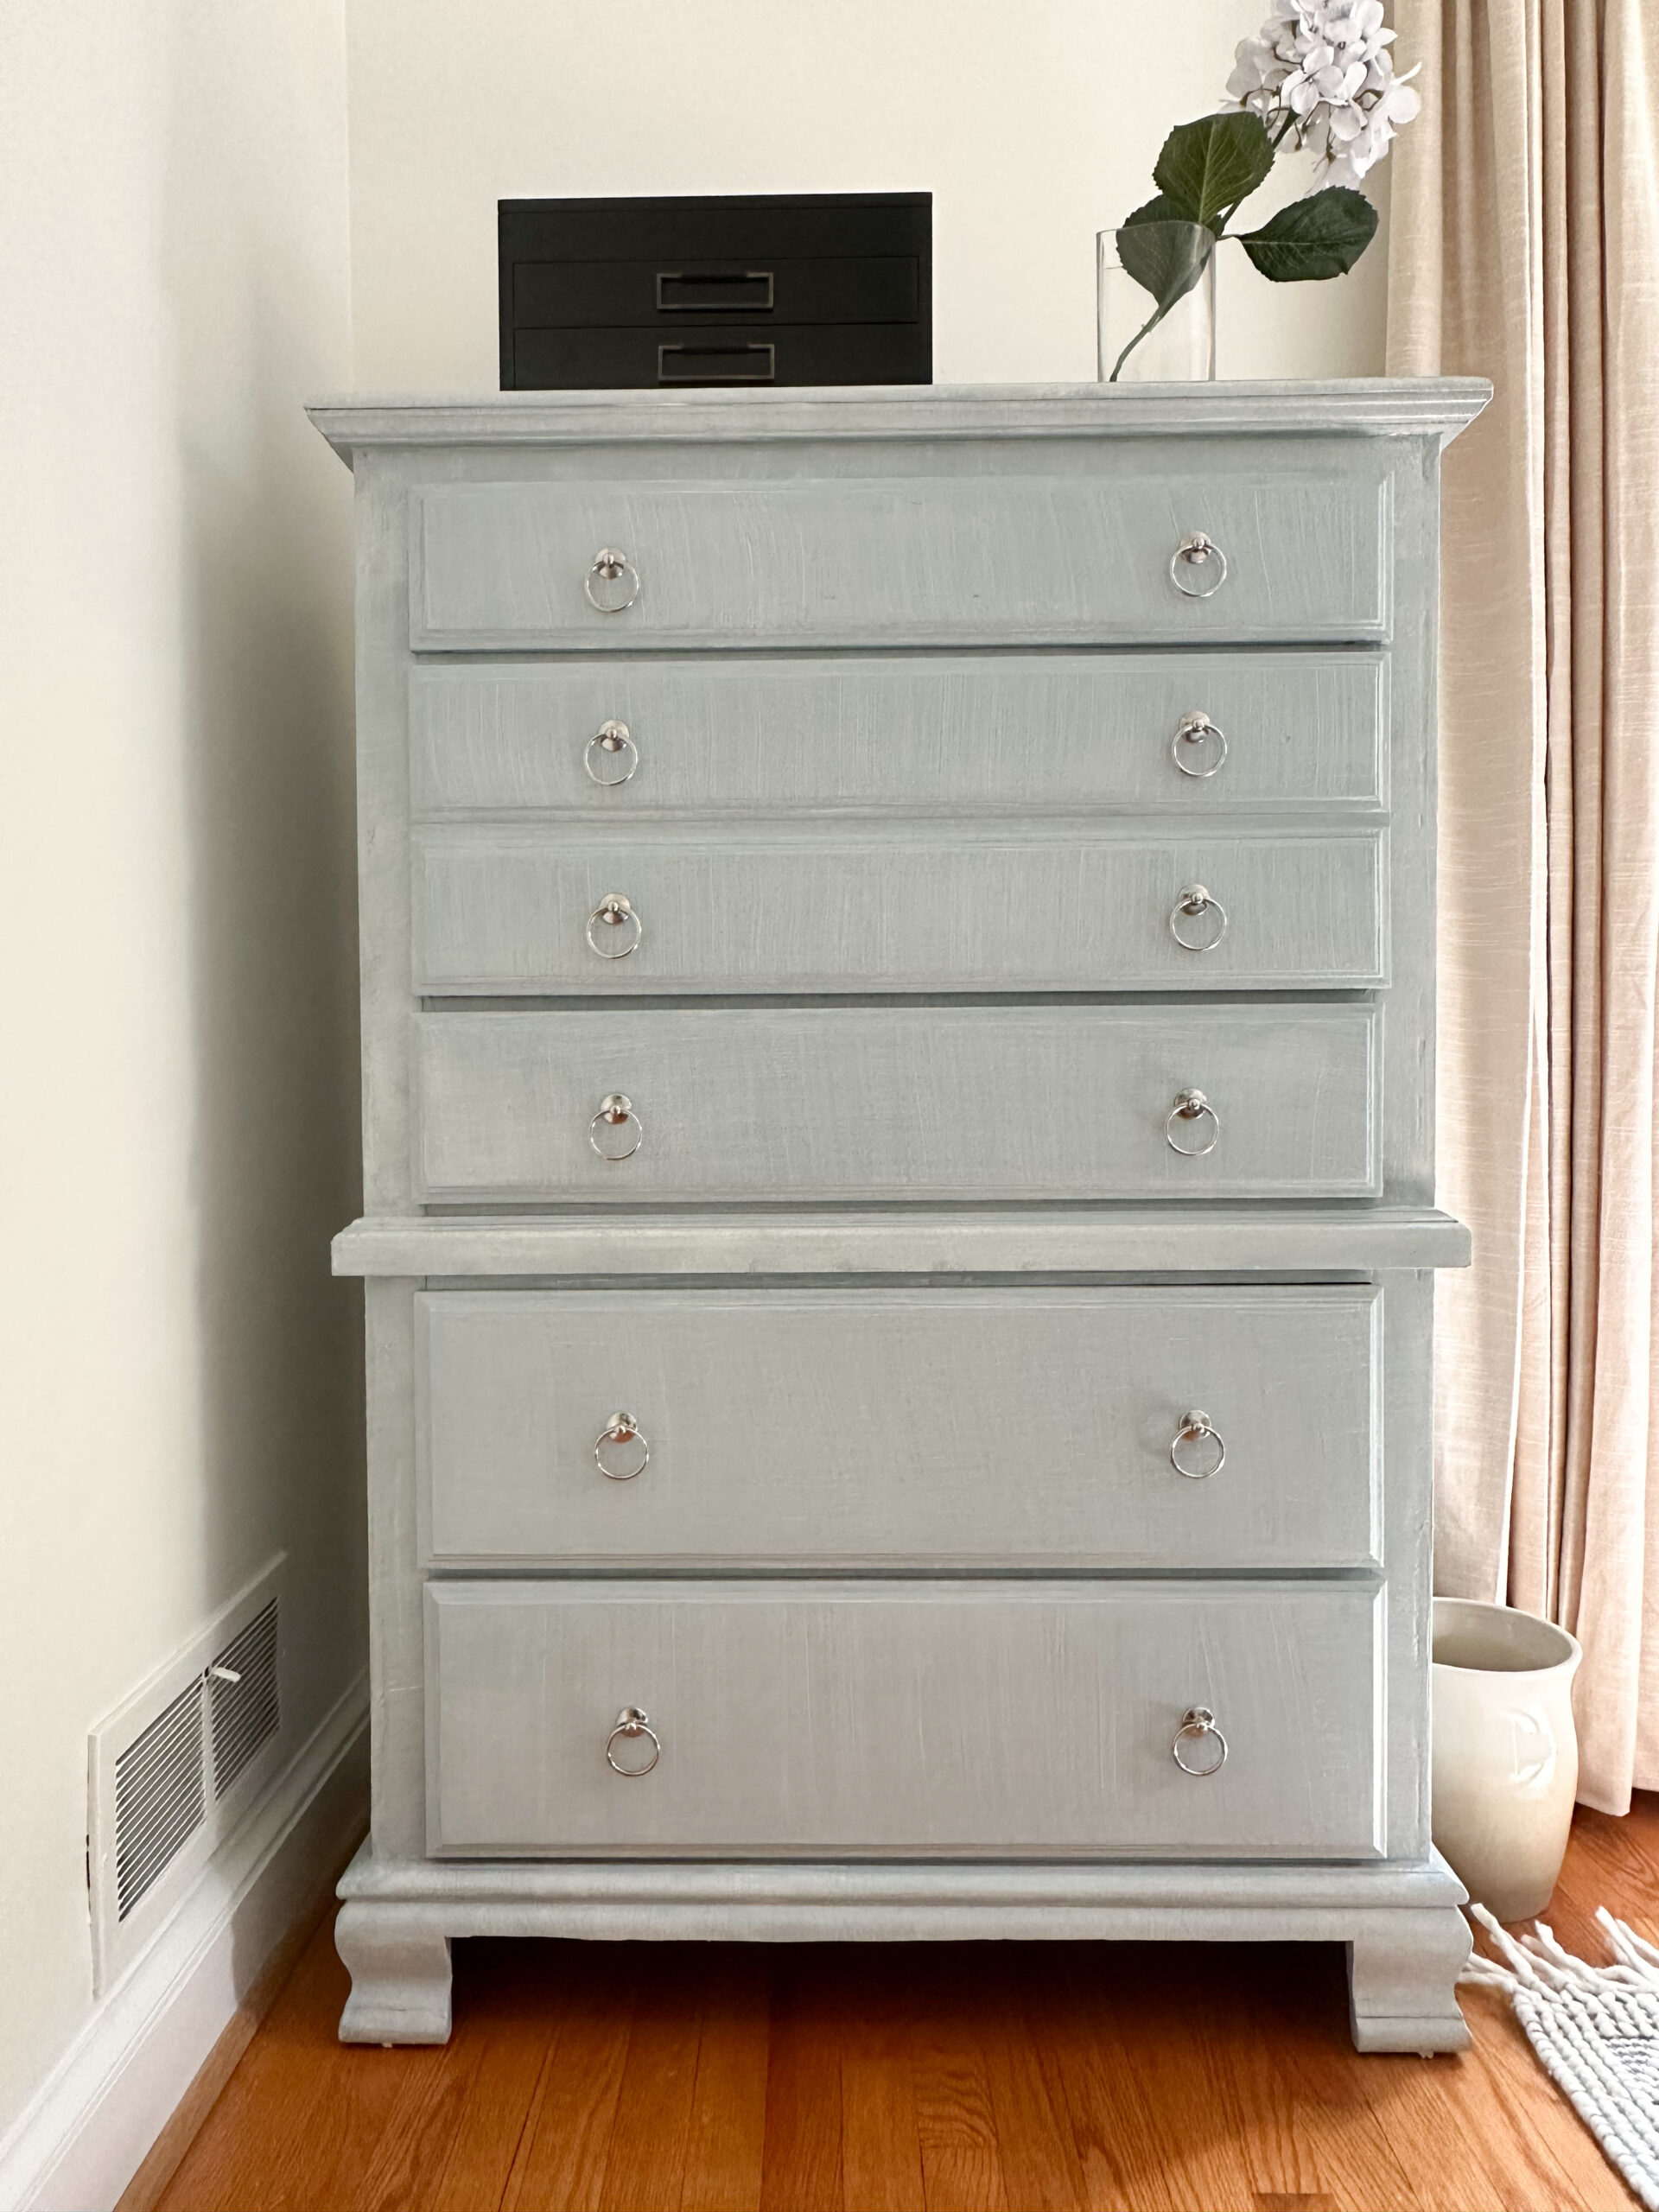
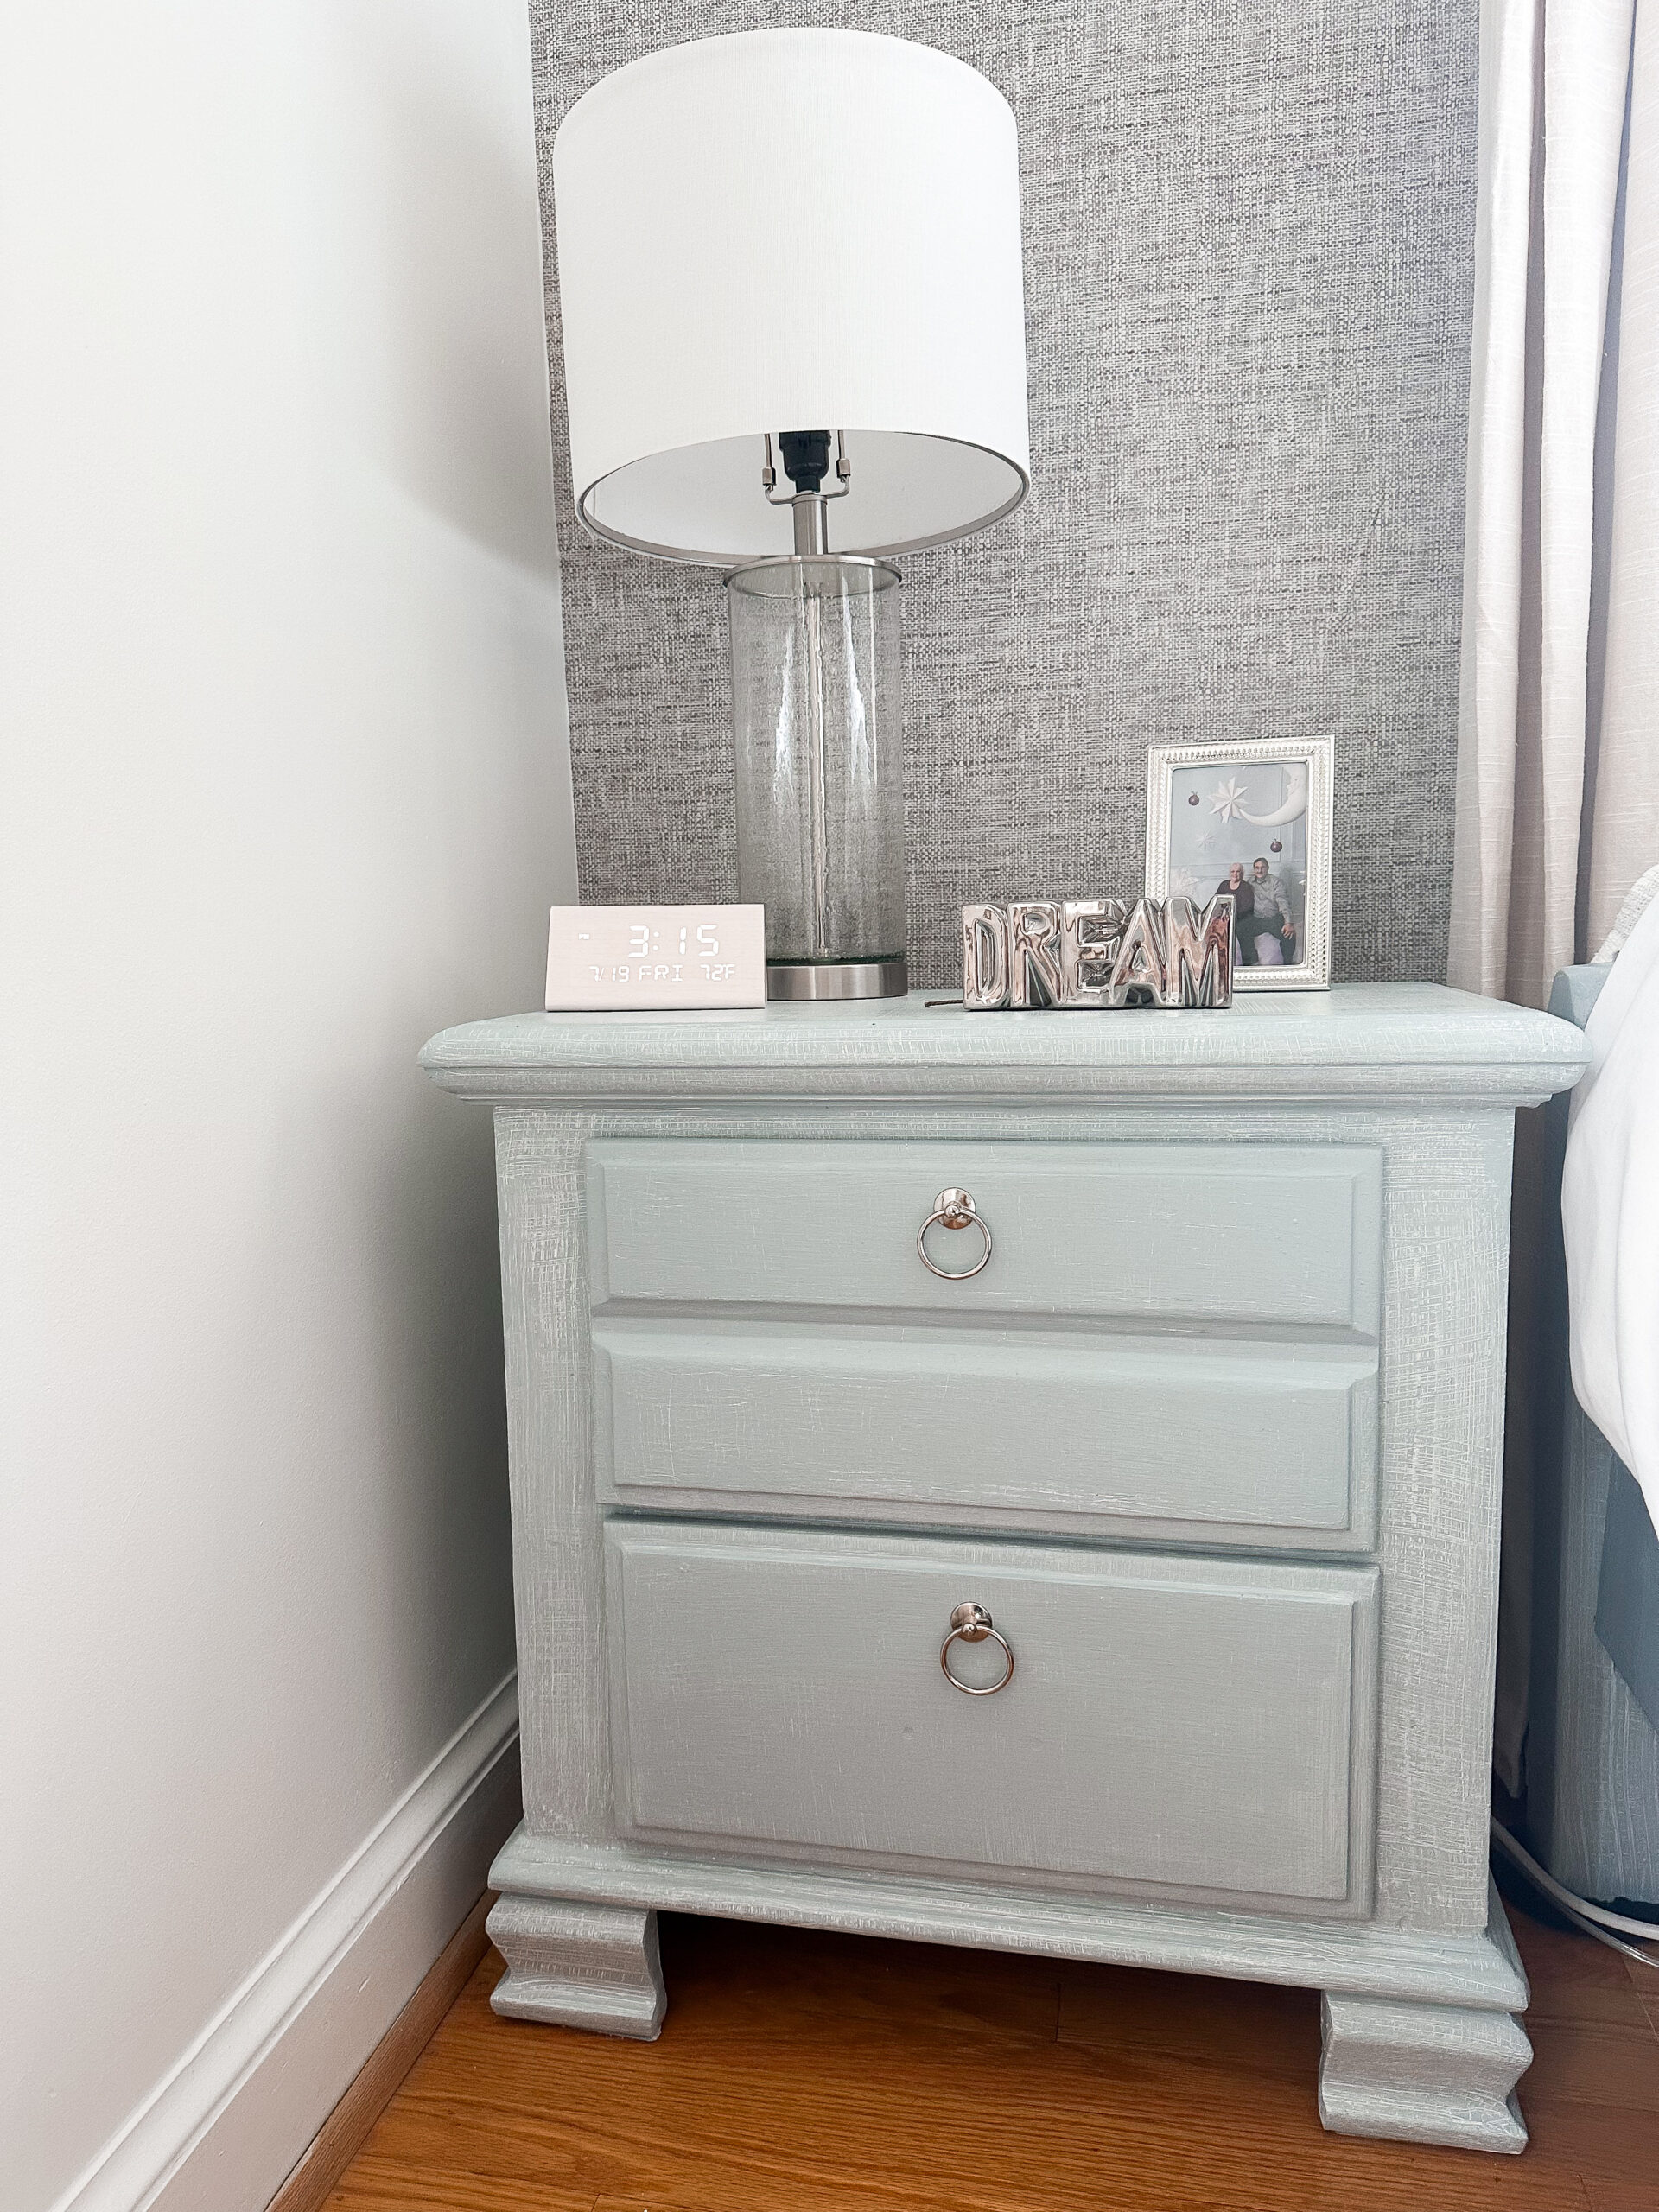
Let me break down how I did the faux linen technique. While I did do a sample and loved it, the drawers and dresser came out with a smaller tighter denim look than I originally wanted. I did not clean the paint off the blue brush bristles after day 1. So on day 2, when I painted the nightstands, they came out exactly as I had wanted. I think its because there was dried paint on the ends of the already rough bristles.
I then attempted to fix the nightstand drawers but it was not really working. In the end I just decided to leave it all as is. A neighbor mentioned they would not have noticed a difference if I did not point it out. Plus the dresser is not sitting next to either nightstand.
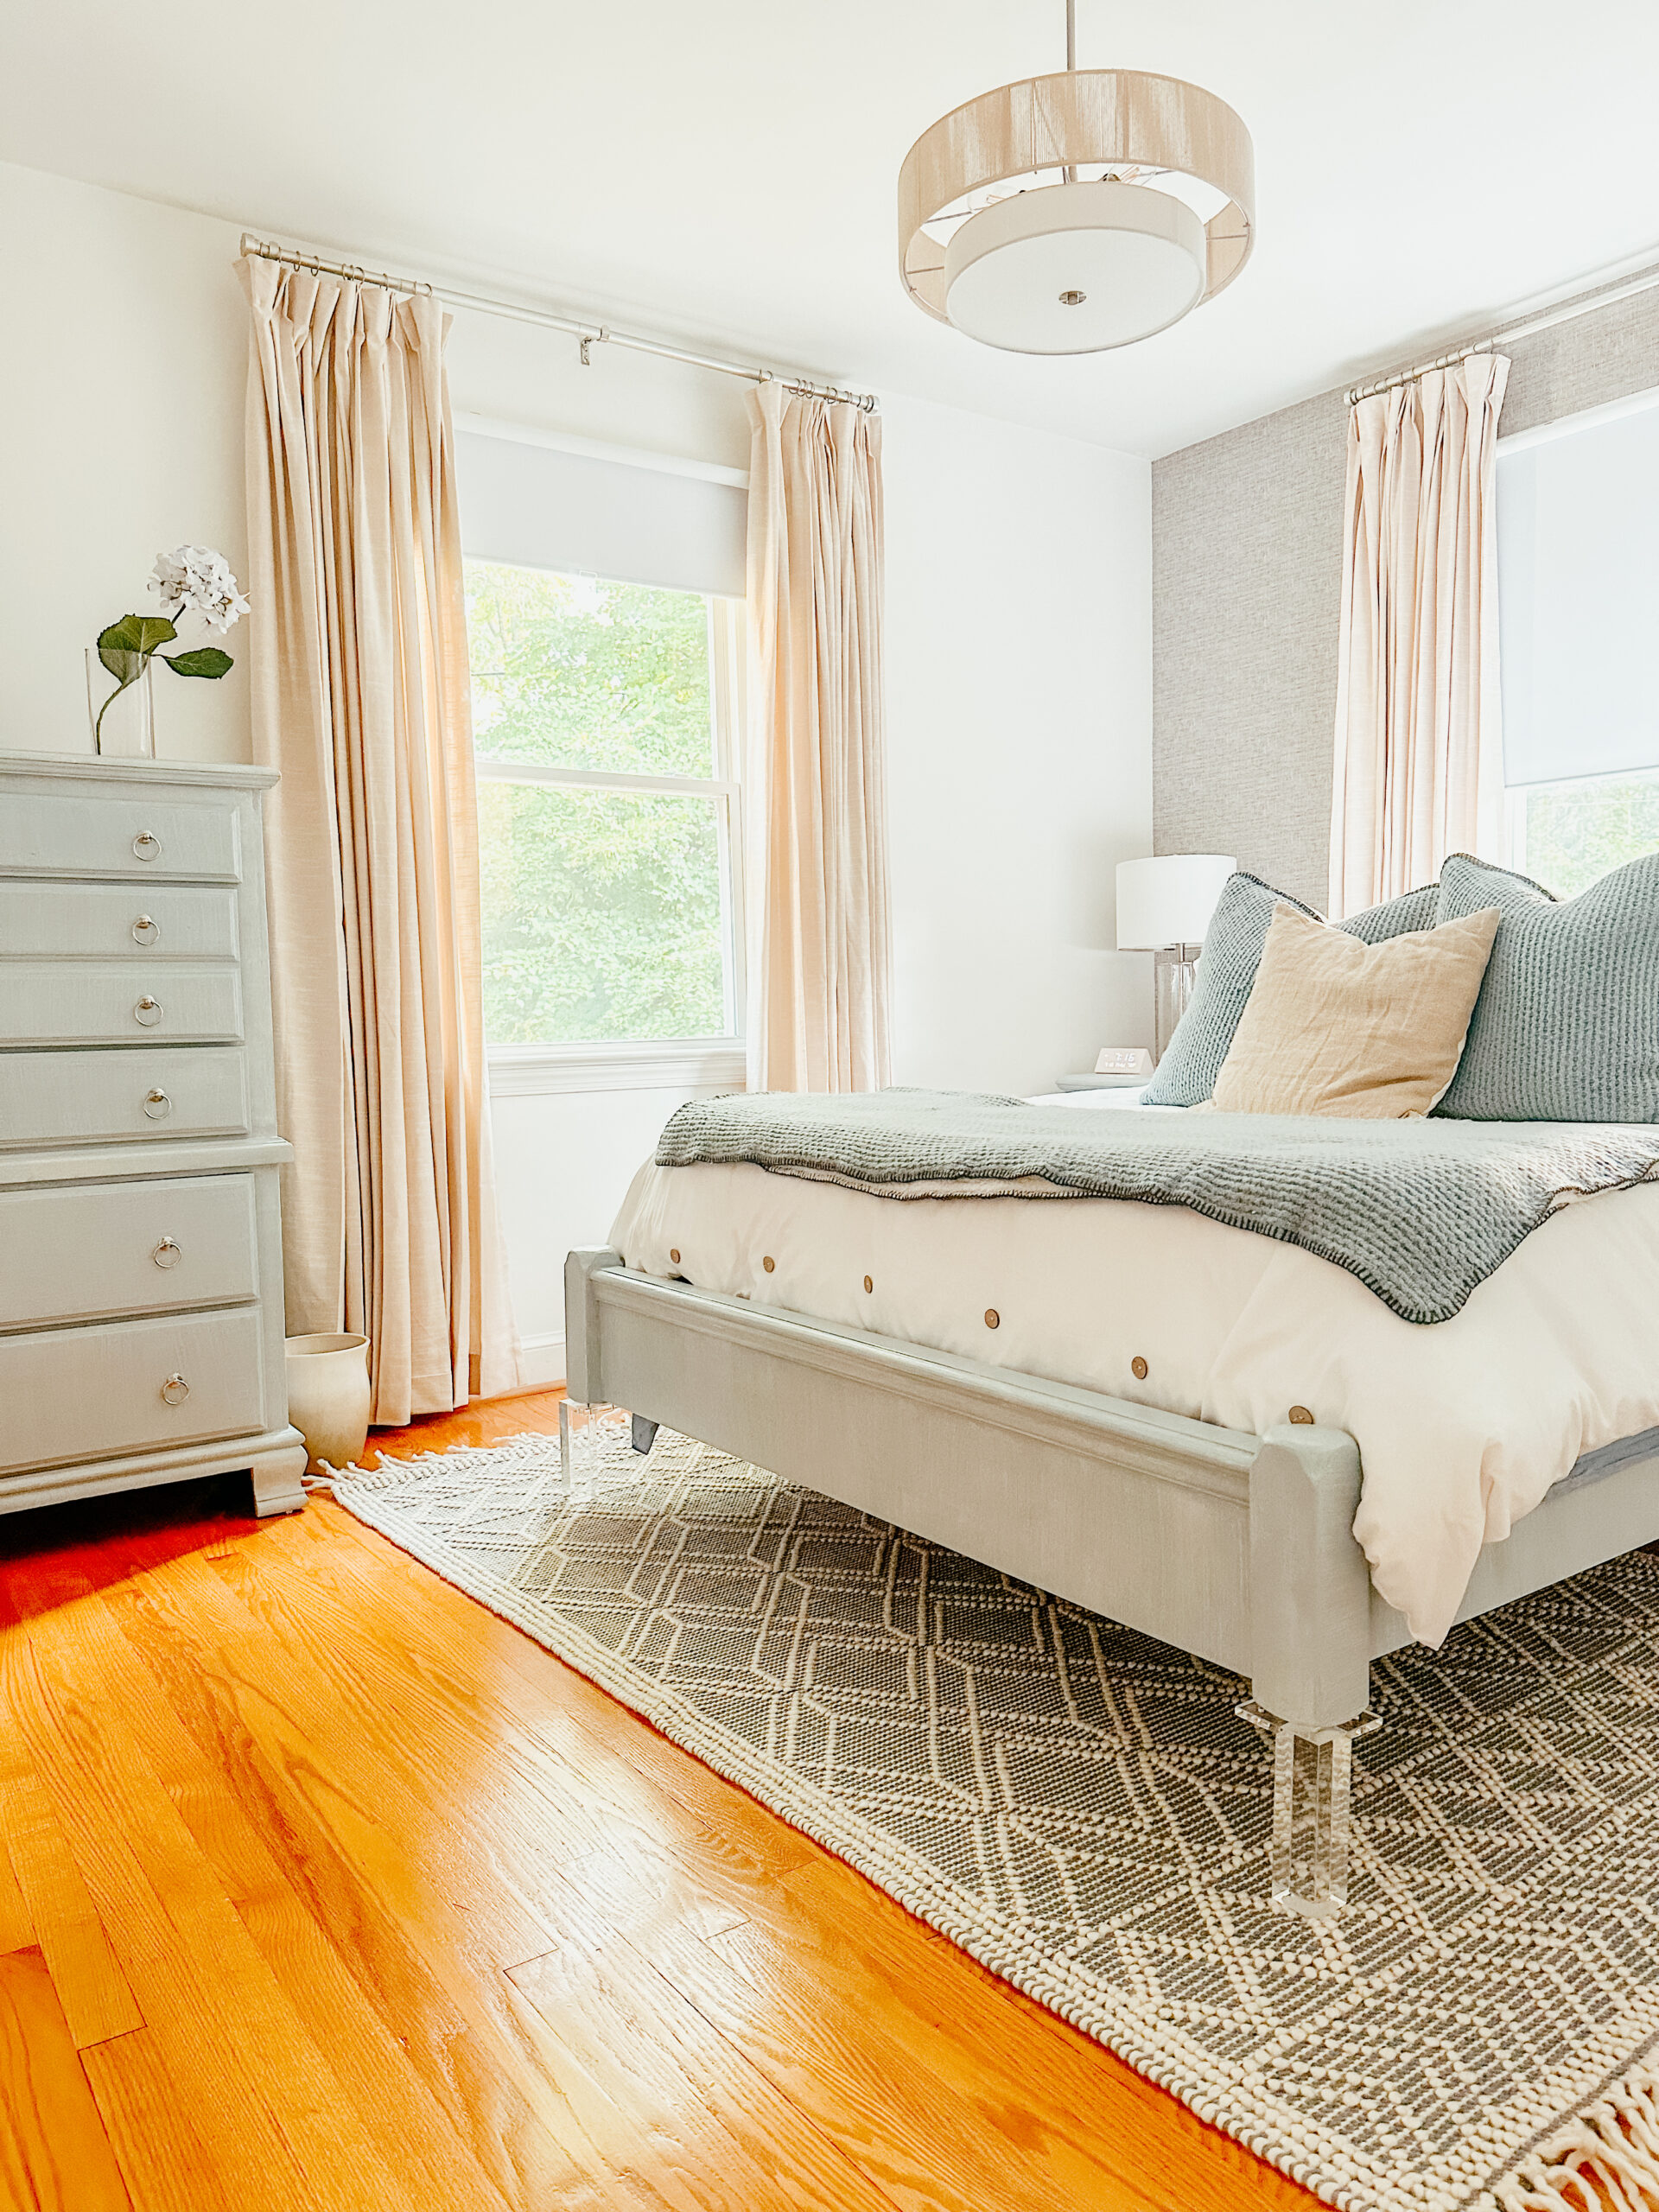
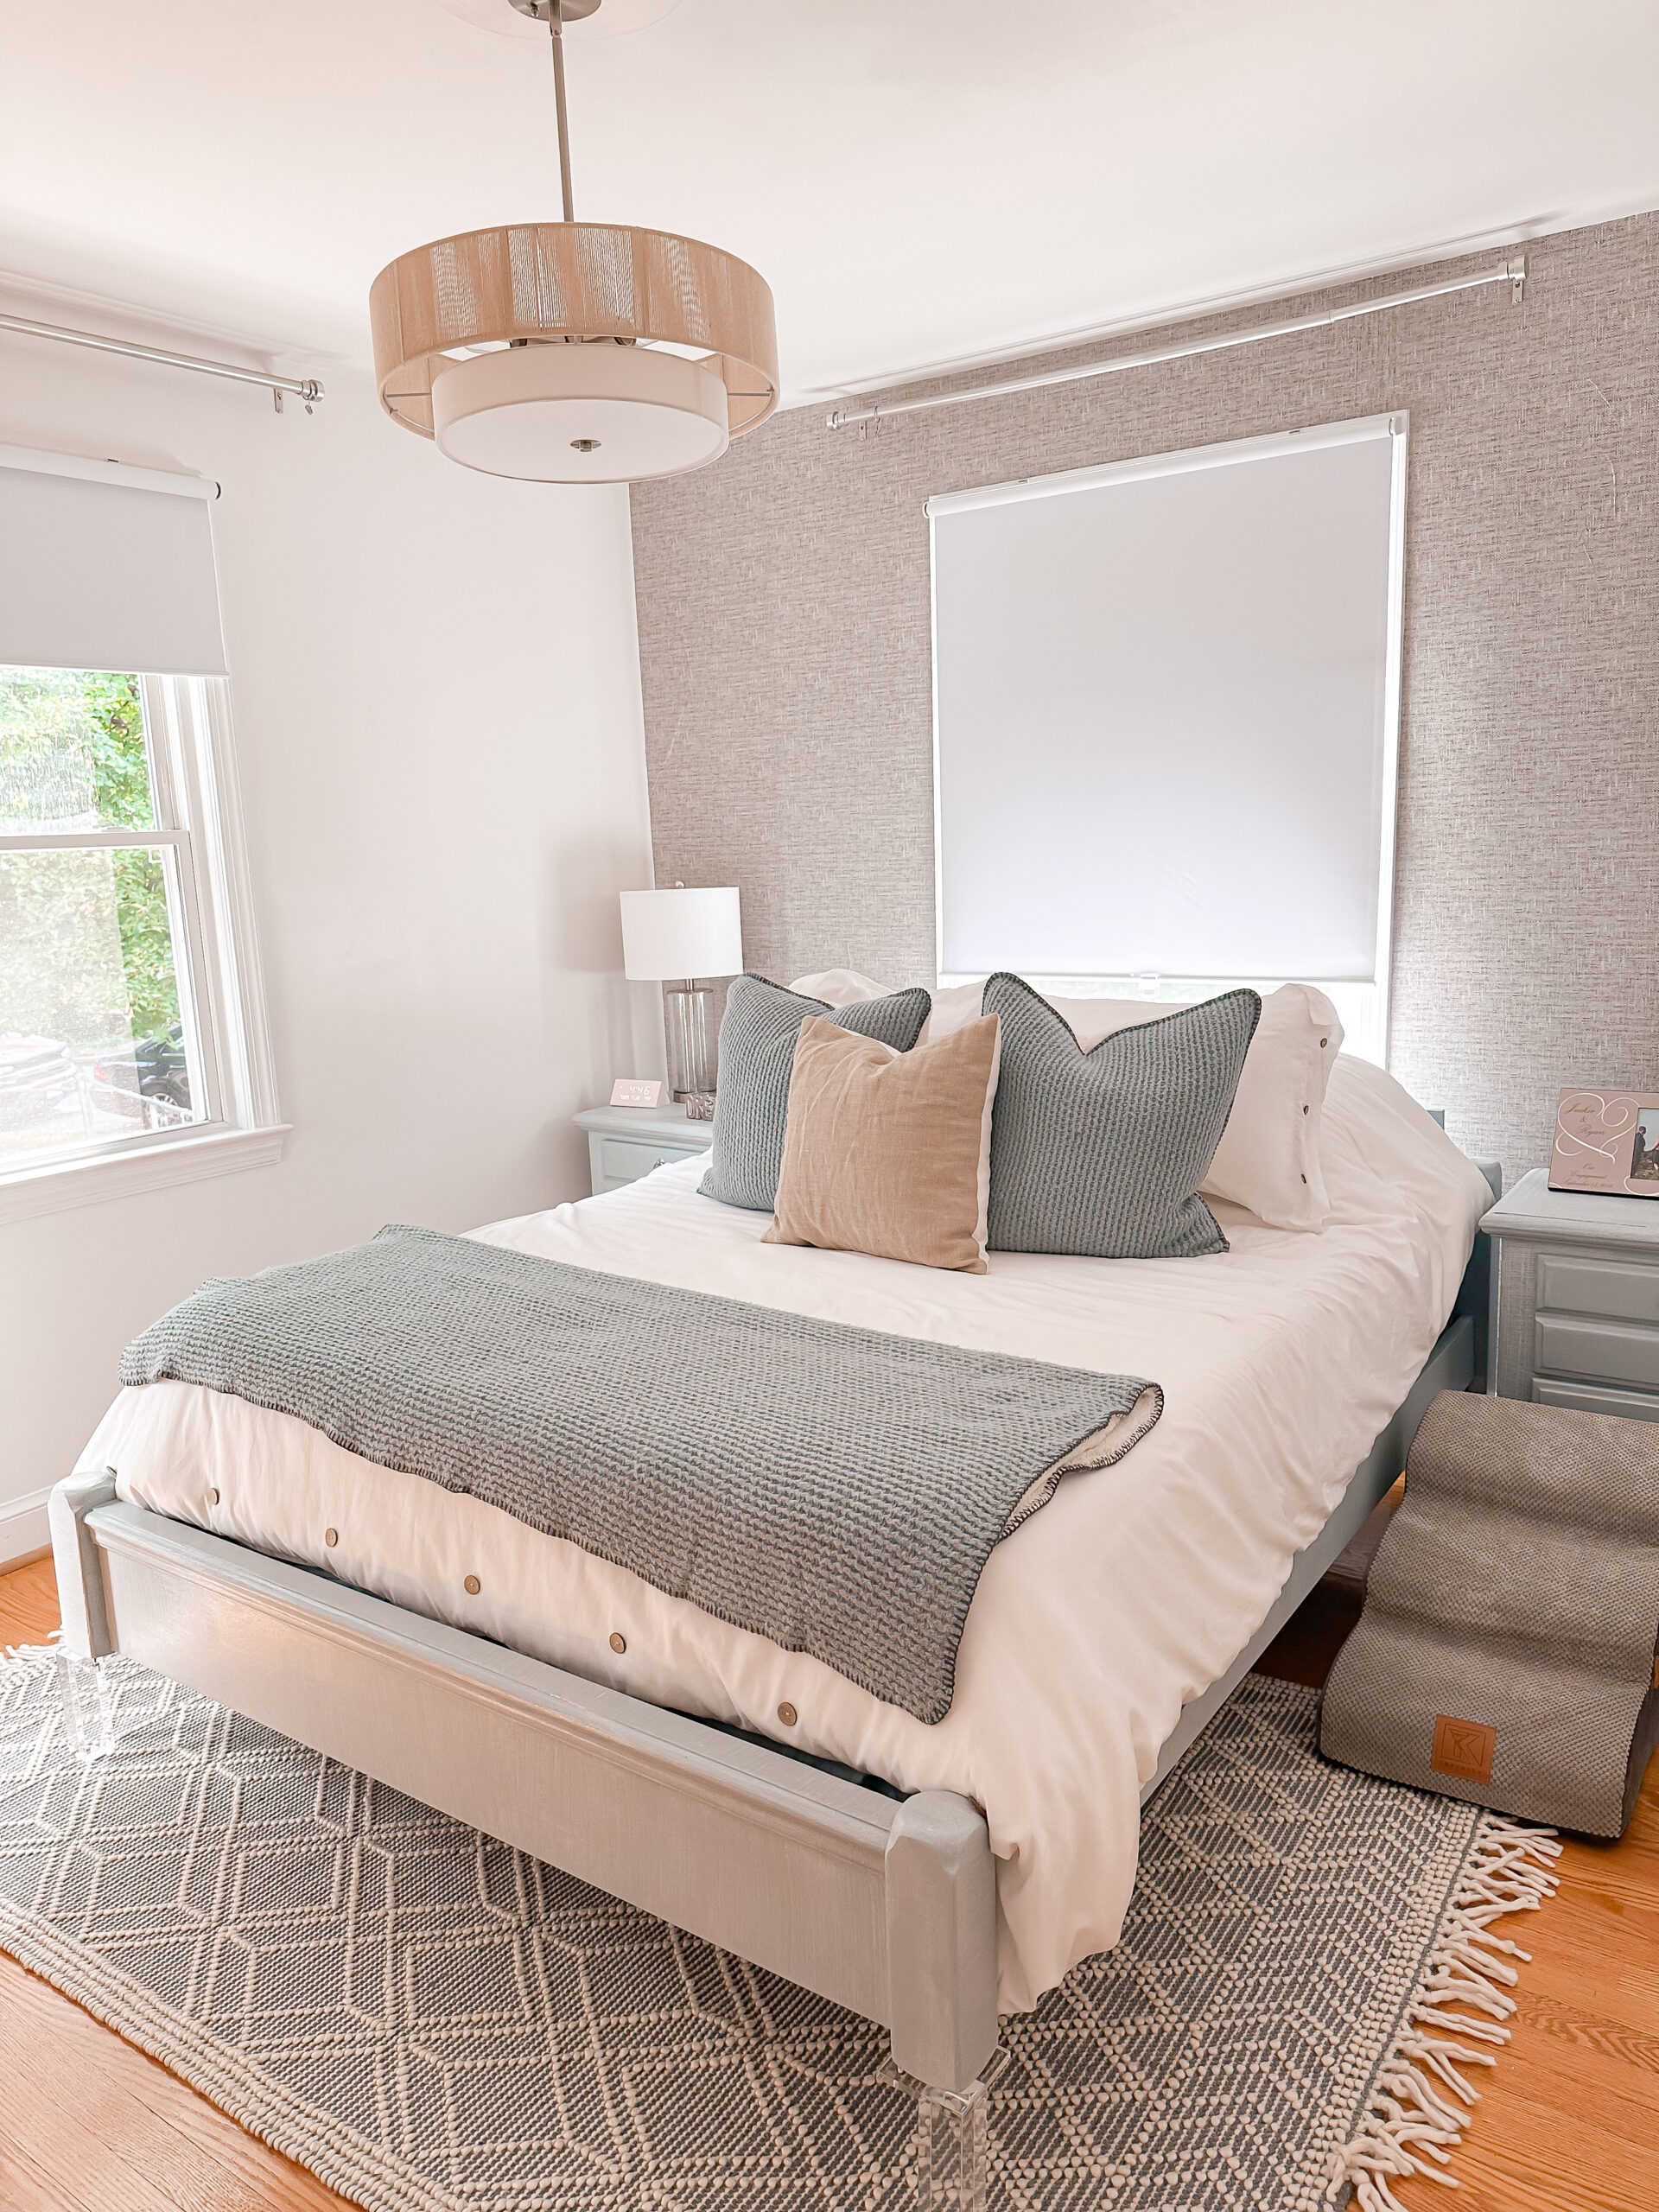
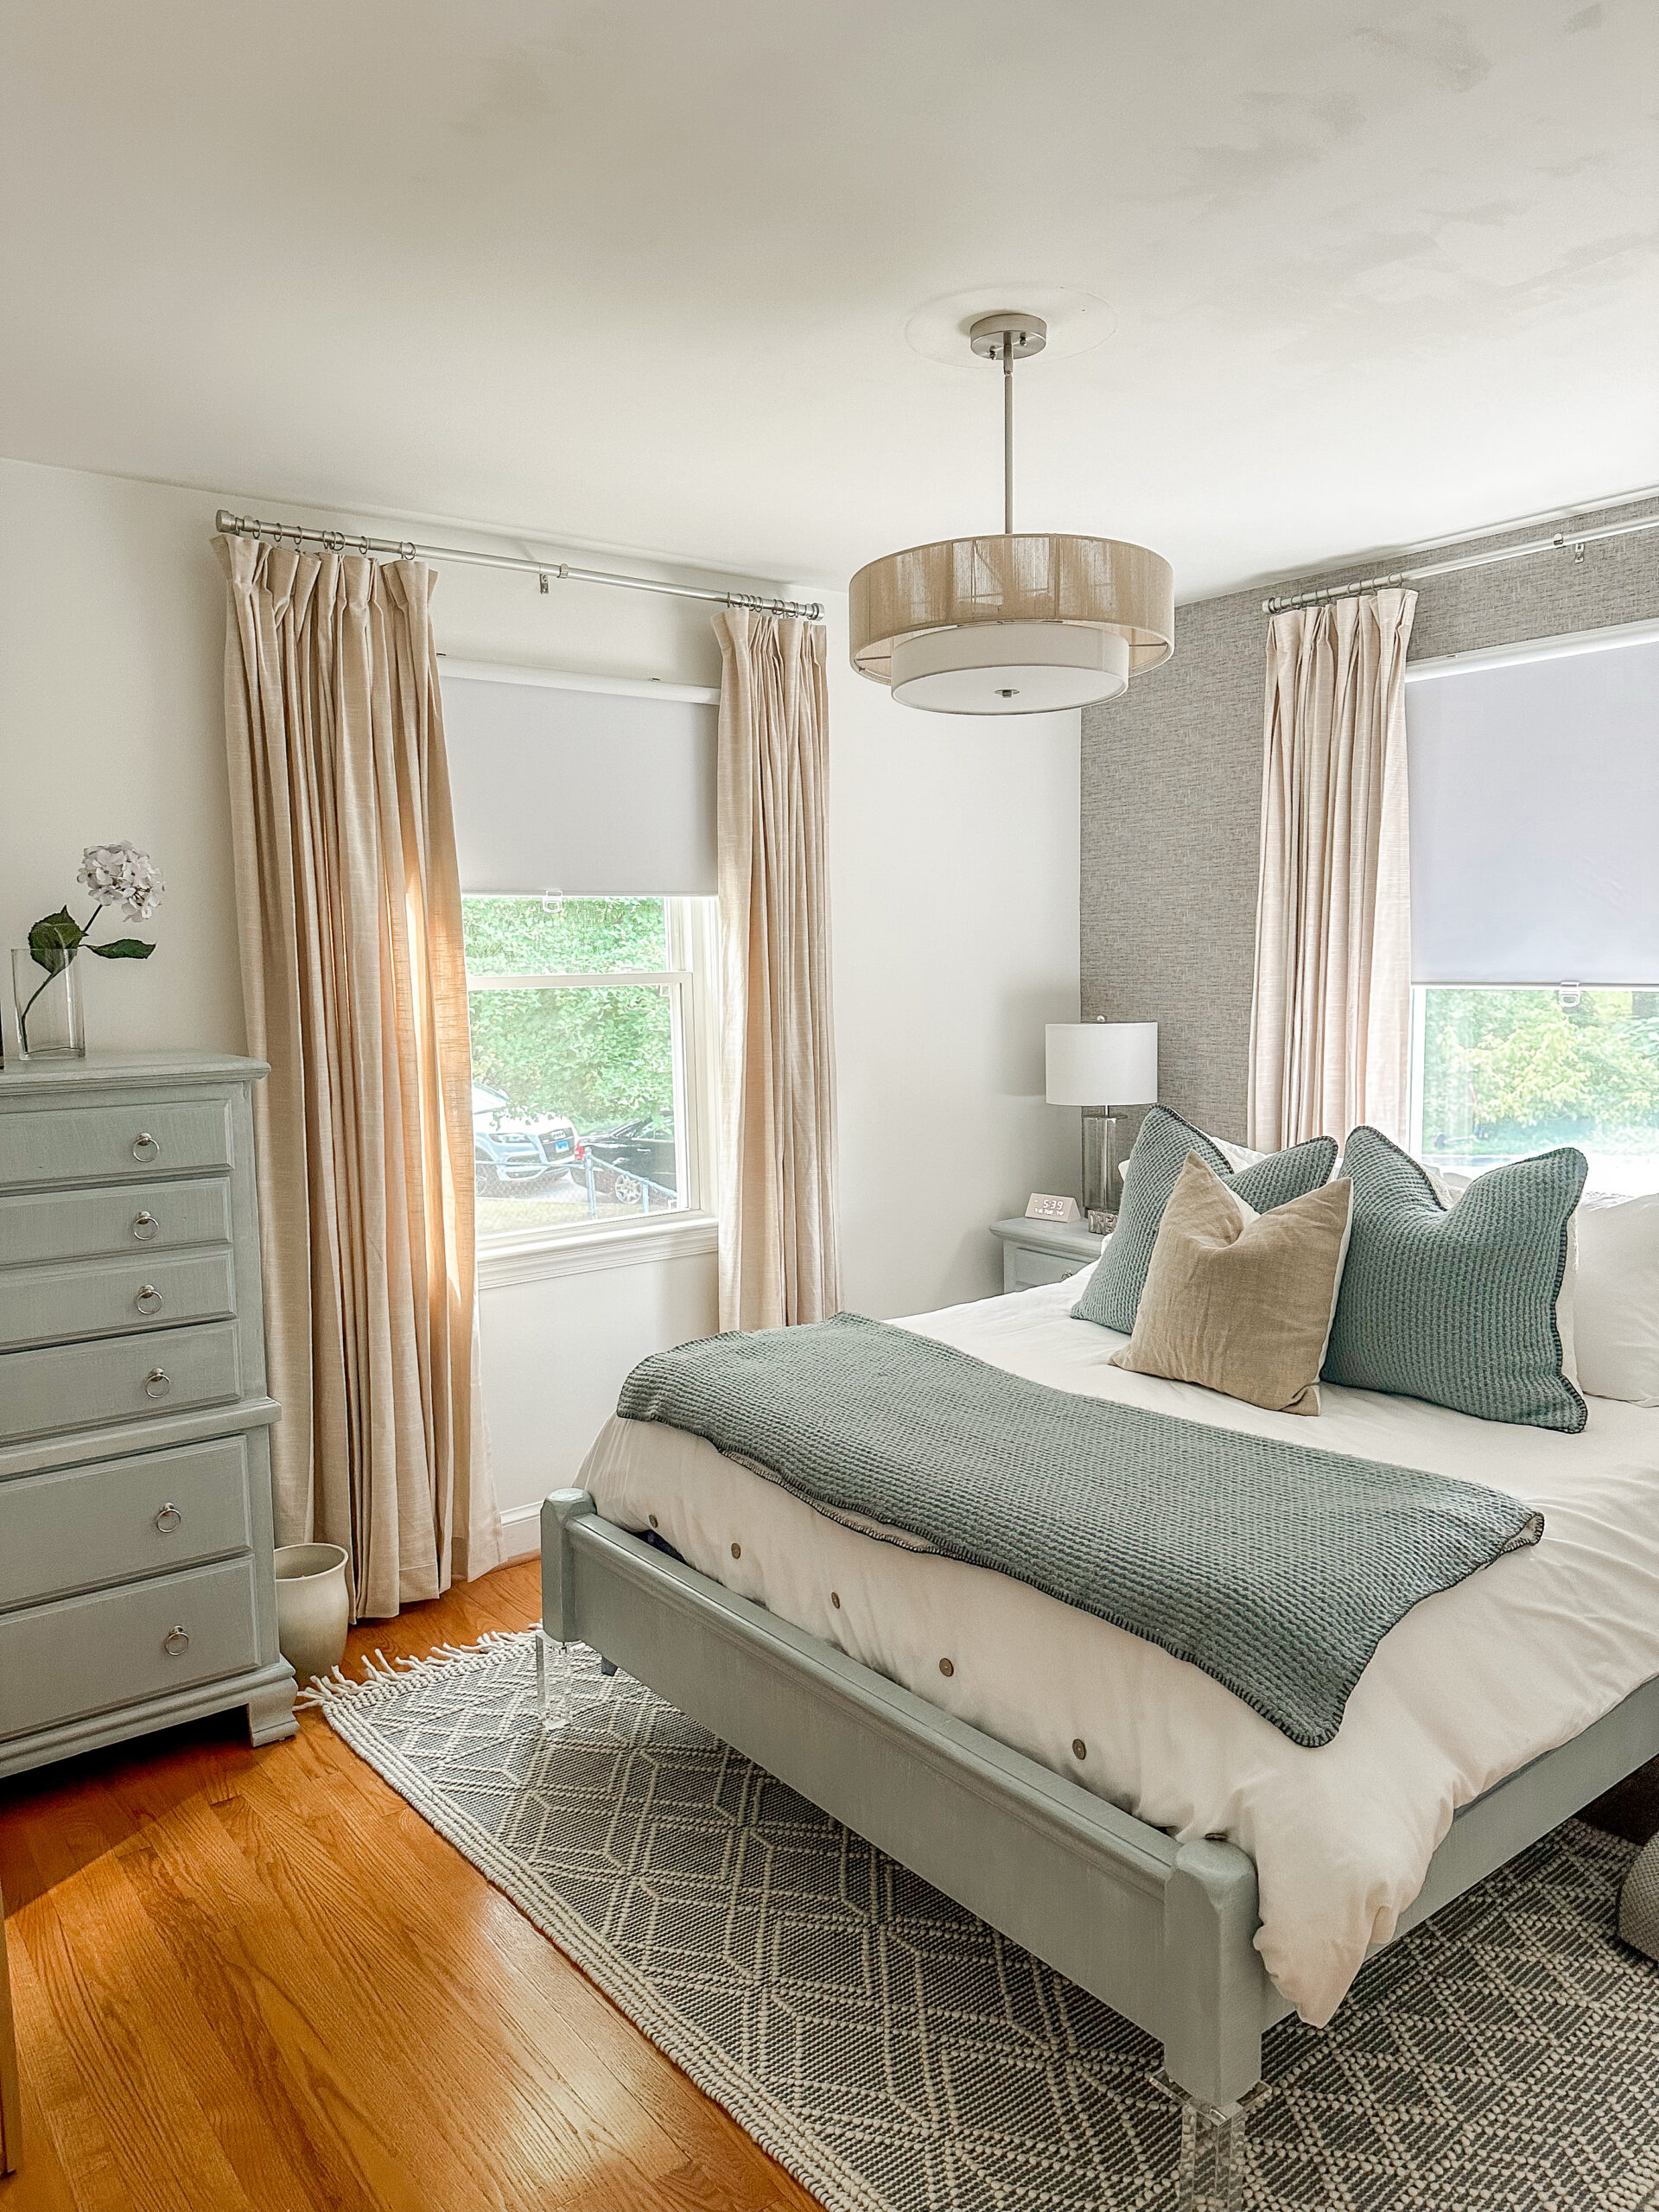
Let’s cozy up the space with some curtain rods, curtains, rug and of course the light fixture. These pieces really help tie in the coastal chic vibe. The curtains gave it the perfect warmth the room needed. Its still neutral shades but adds warmth, color, dimension, and texture.
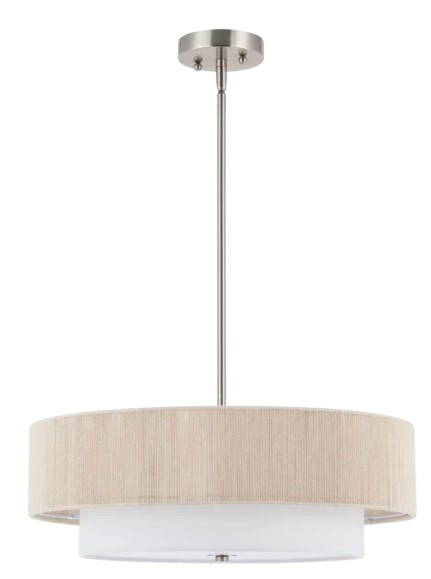
Check out this light fixture. As soon as I saw it, I new it would be a perfect fit for this space.
My original plan was to cut off as much of the old ornate headboard as I could. Then I planned to make my own Tufted Headboard and attach it to the old base. Because the frame is in front of the window and our cat loves to sit and look out I decided not to make a frame that would be higher. So for now I painted what was left of the old headboard. I had cut off the round details and unique details. Eventually I may add a new one but for now leaving it as is. I do have a body pillow that can sit up against it for more comfort.
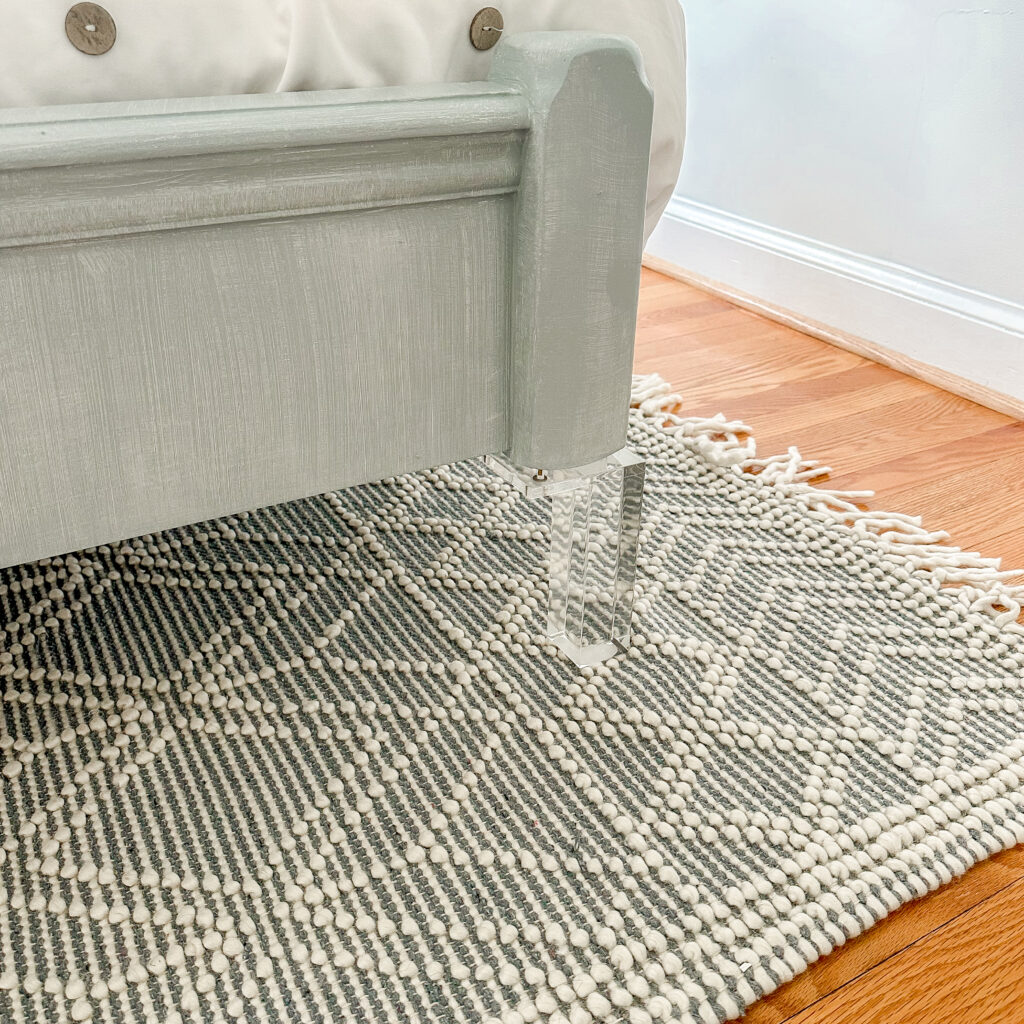
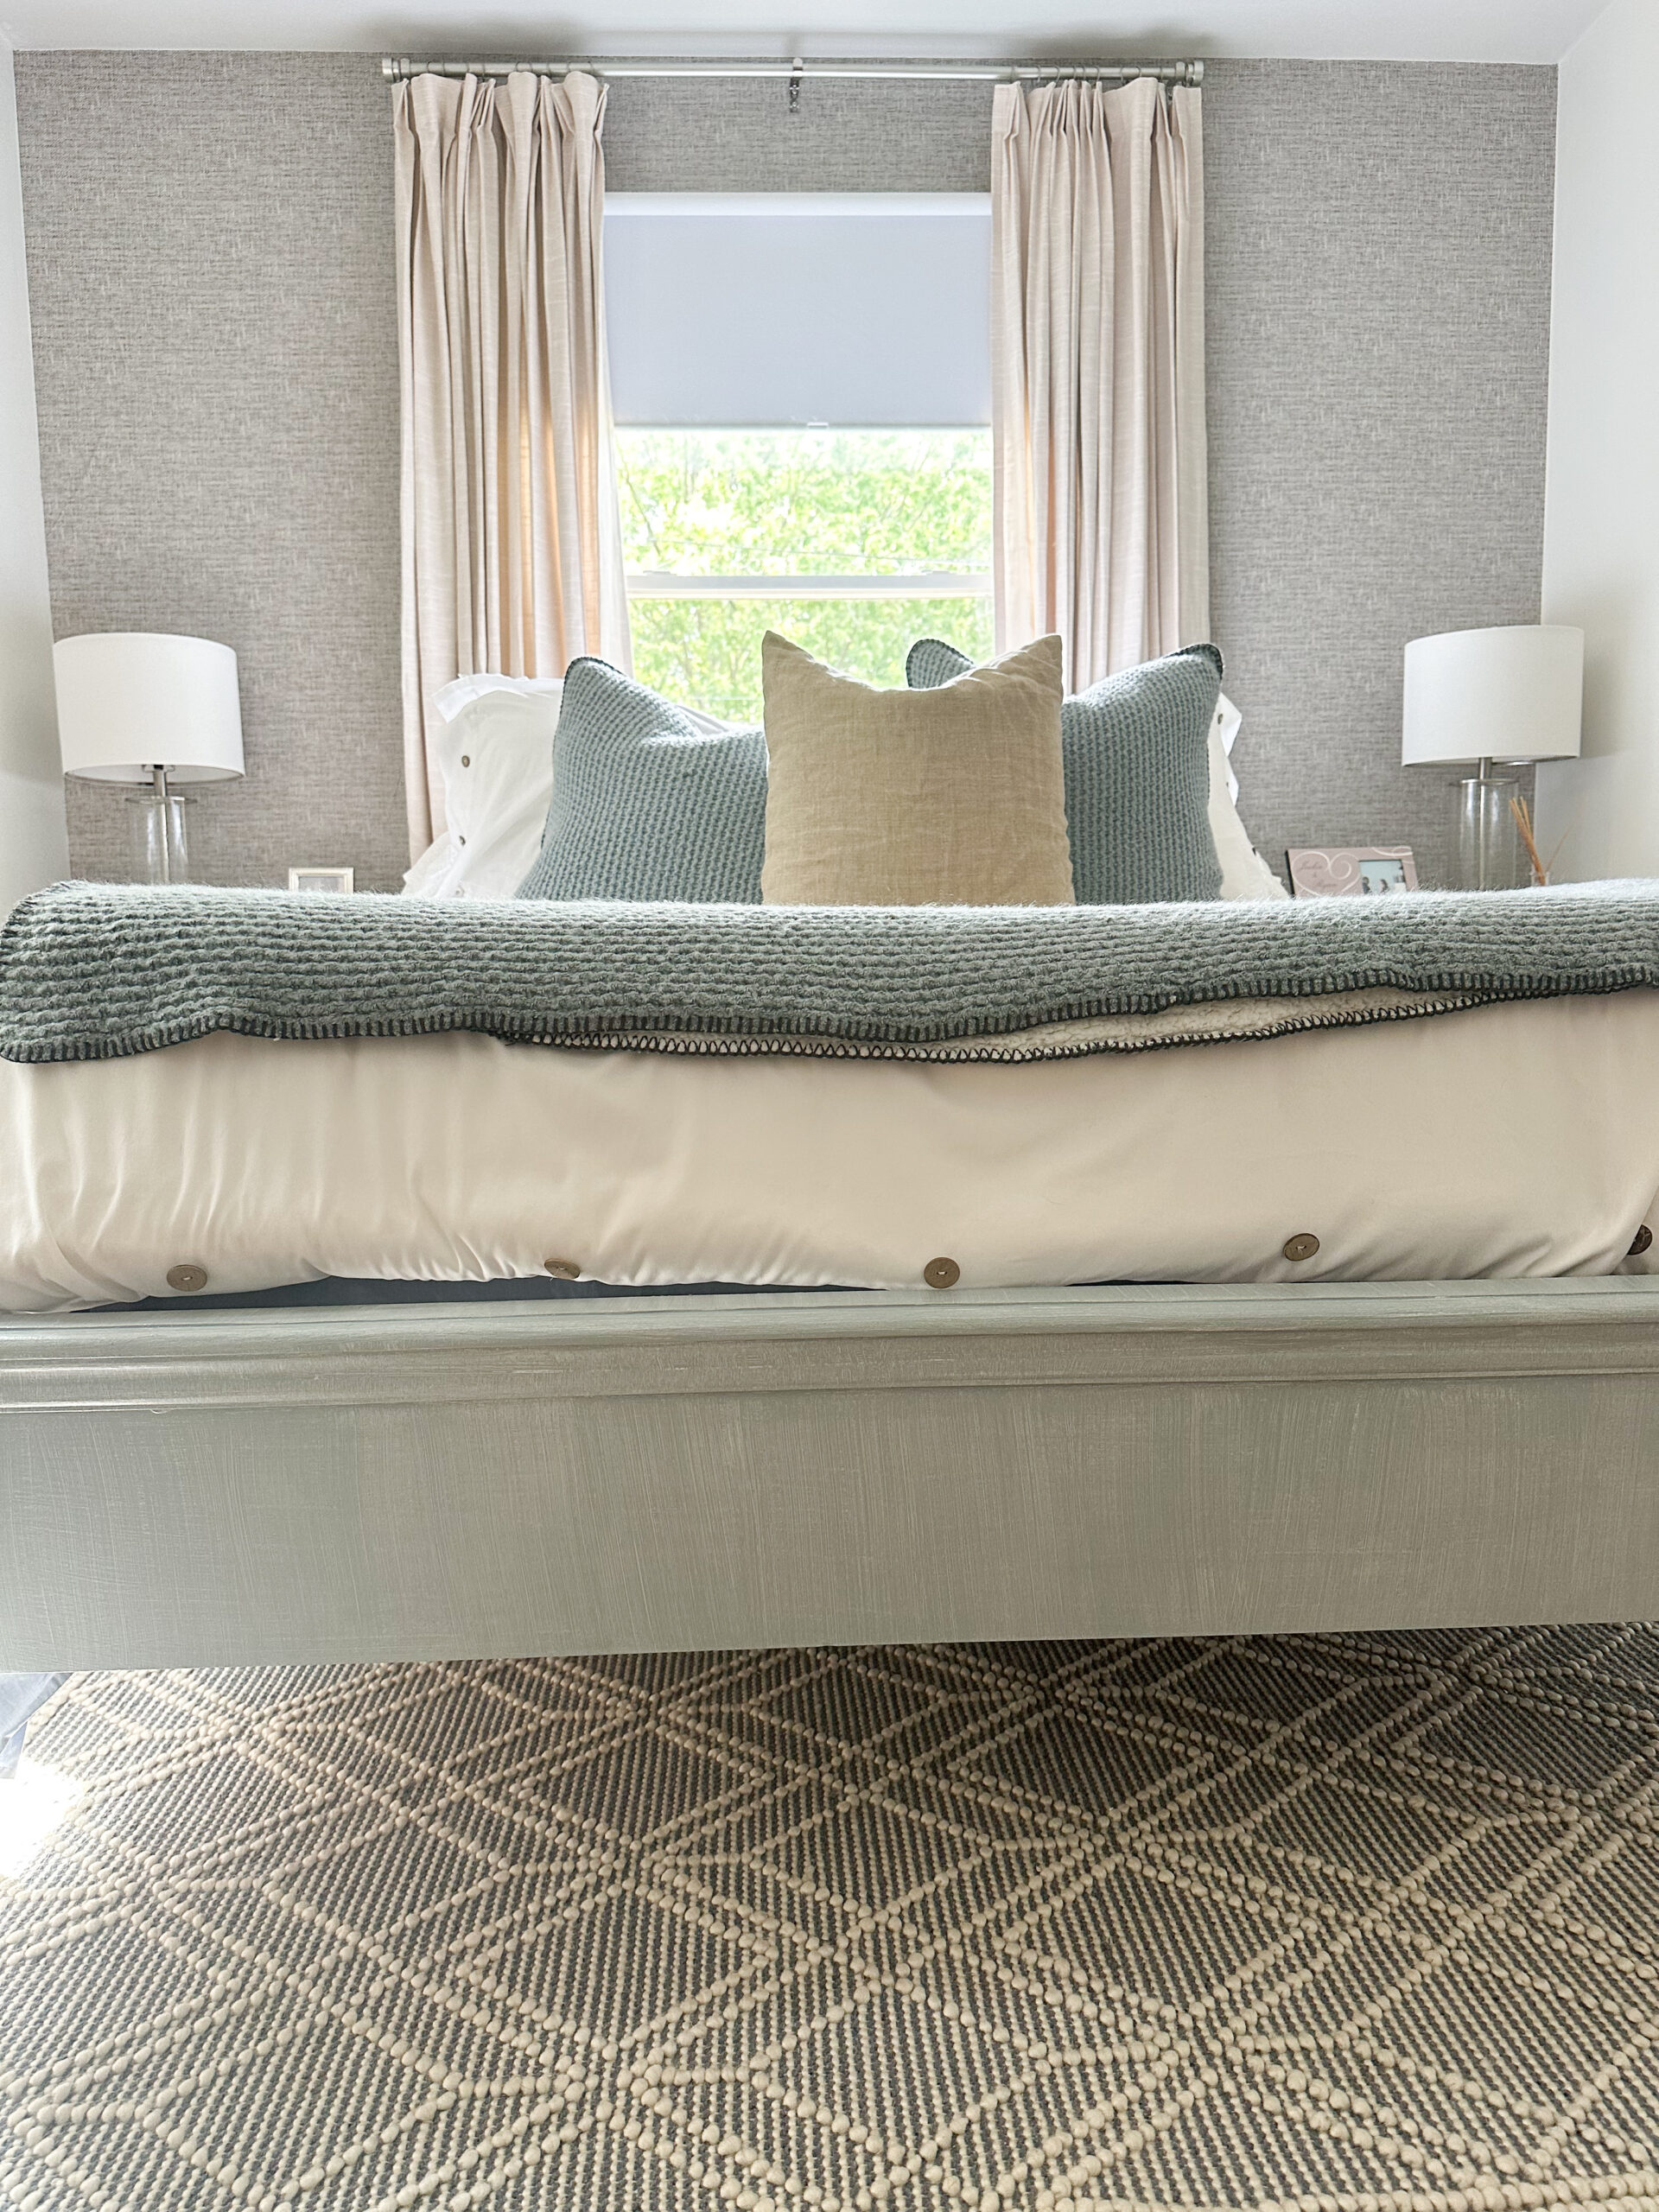
I am obsessed with the detail in this rug. It adds so much texture.
Love the natural light and natural elements. Waiting on curtains to arrive. Keep scrolling for curtain details. I sawed off the old round legs. I wanted these acrylic legs because they are not a solid color. This way your eye notices the paint details, the rug details and continues to draw your eye to the dresser and curtains. Check them out here.
If you know me, you know I love glam. In our living and dining room I added these curtains rods and these curtain rings for that tiny pop of glam. But in this space I knew a simple modern look fit better. We used these curtain rods and curtain rings for the guest room.
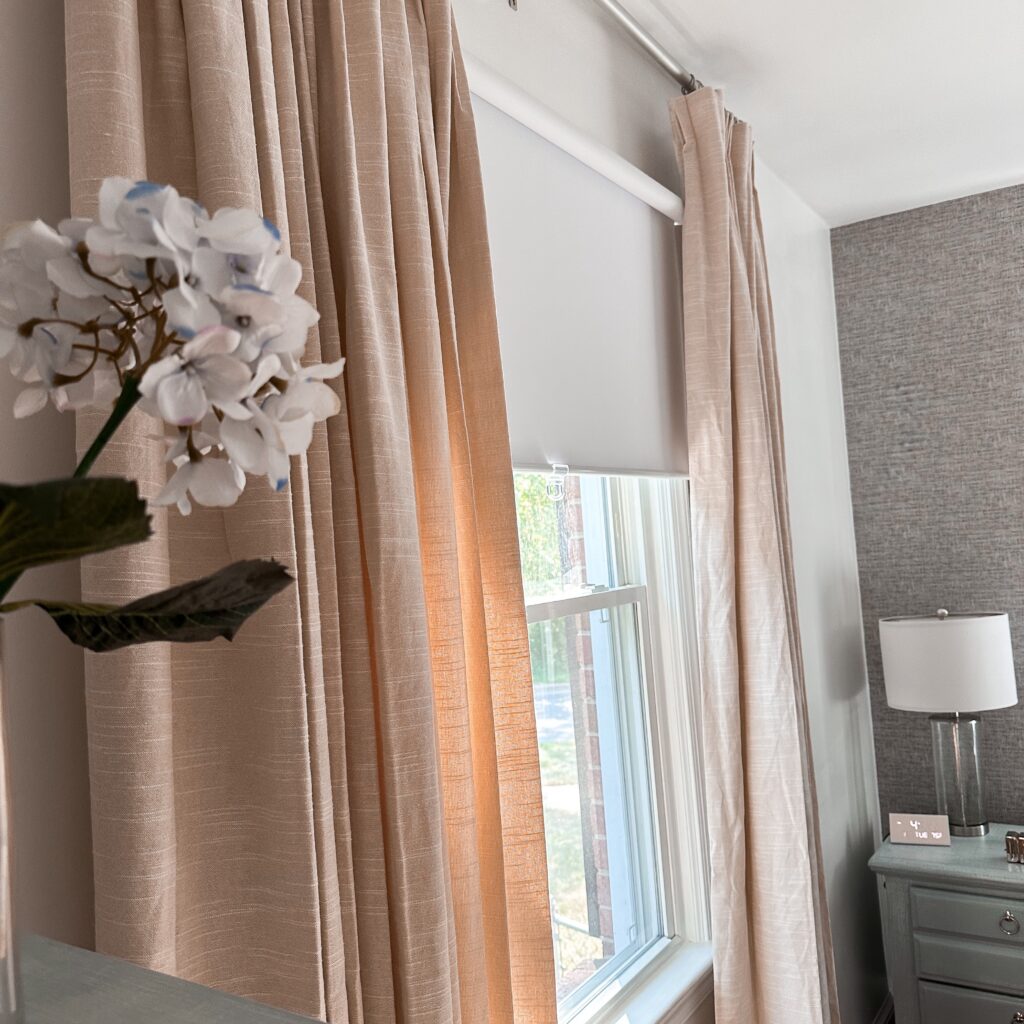
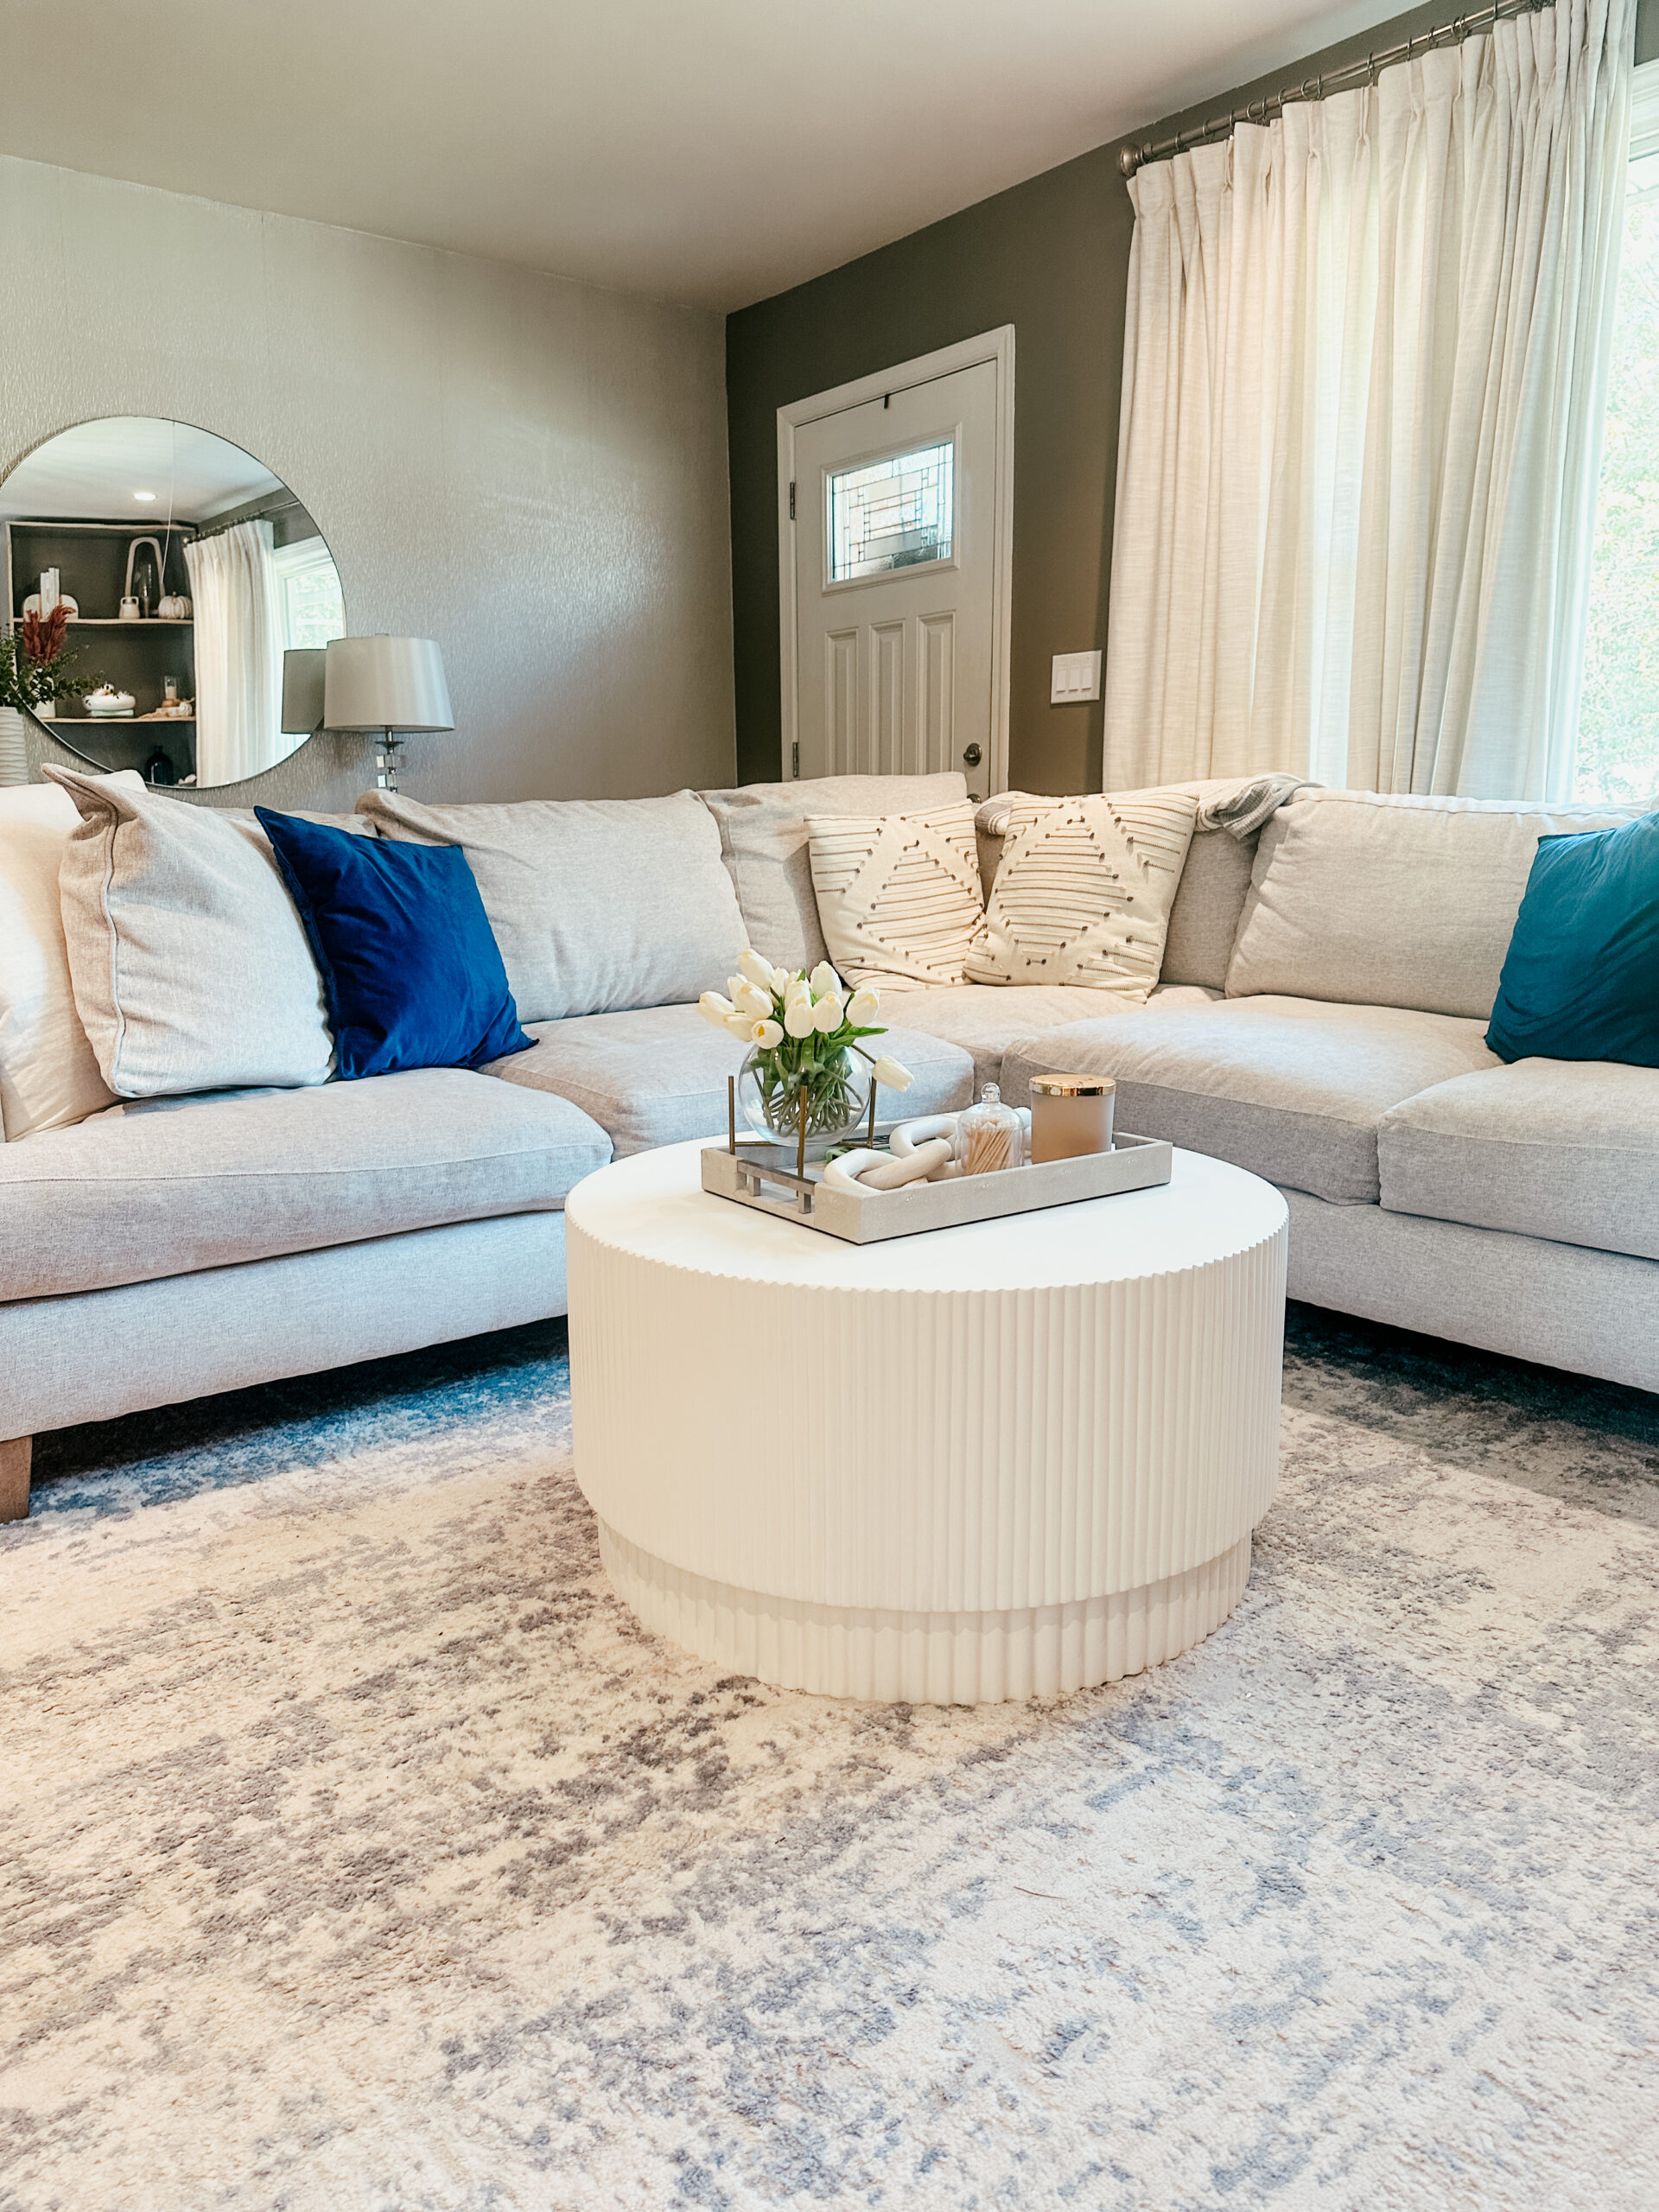
I debated between the JAWARA Curtains in shade Birch, or Ivory Beige. I ended up with the Birch. We have the Liz Linen curtains in the dining and living room in Ivory Beige as well as the roman shade.
I just love the detail on these curtains.
The small details within the curtain add more depth and texture than solid color curtains would.
Side note……. the tip for curtains to look more custom is to put your rods higher than the window frame and wider than your window. These are 3 inches from the ceilings and 6 to 8 inches wider. We installed the rod and rings first before ordering the curtains. This way I knew exactly how long the curtains needed to be. You want the end of the curtains to KISS the floor not to pool on the floor.
But the worst design mistake is curtains that are too short!!!!
Since we have the pull down shade these curtains will not opened and closed. They will remain open. This will help them hold shape. If you do open and close curtains daily the company has an option for memory hold. If you want fuller looking curtains you can order an even wider size, we did this for our living room bow window curtains.
The final detail was some wall art.
I personally do not love filling walls with decor. I like clean and simple and less busy. But this room needed something for the solid wall. I had a large black frame on that wall before I redesigned this space. Frames are not cheap so I wanted to repurpose it if I could. However, black did not go with the style of this space. Check out how I used materials I already had on hand to create some free abstract art.
It adds color and texture and just completes this space. I am also in love with these super easy picture frame hooks. No more making multiple holes in your walls. I used one to hang this frame.
Come be our guest and stay in our Coastal Chic Guest Room. What do you think?
This was the dresser before flipping it. And you can see the old bed frame and legs before cutting off the top and bottoms.
This is a look at the old nightstands. Before I took off the front ornate details on the side and the bottom detail. Reminder I like more modern with clean lines. Due to the actual construction of the frame and legs I had to leave some details. But I rounded and sanded out as much as I could.
Over all I am pretty happy with it.
Key take away points:
- Paint is your best friend
- Texture/ details and warmth create a space
- Start with a mood board and overall look or vibe
- Don’t be afraid to mess up and learn as you go
- Create a home you LOVE no matter how big or small it is
What space in your home have you been wanting to transform?







Comments will load here