Laundry Room Refresh
Unpopular opinion but I do not mind doing laundry. I strongly dislike it piling up and I dislike it even more when clean clothes sit in a basket. So the second they come out the dryer they get put away. While we are blessed with a decent sized laundry room, it was a bit drab. Most of it us underground, the florescent lights don’t always work and it needed some TLC. So while my hubby was away on business it was the perfect 4 days to dive into my love for DIY and bring this laundry room to life!
****Affiliate links included in this post****
Step 1: repainting this old shiplap. It was already white. I am pretty sure it was here from the owners who lived here before my husband Ryan bought this house as a bachelor. Ive lived here since summer of 2011 and well they were not as bright as they once were. So I painted them Sherwin Williams Pure White. You know I have used that color in our MAIN BEDROOM MAKEOVER, the OFFICE makeover and the BATHROOM REFRESH. It’s my go to white. We have now also painted all our ceilings that color too. We always get our paint from Lowes.
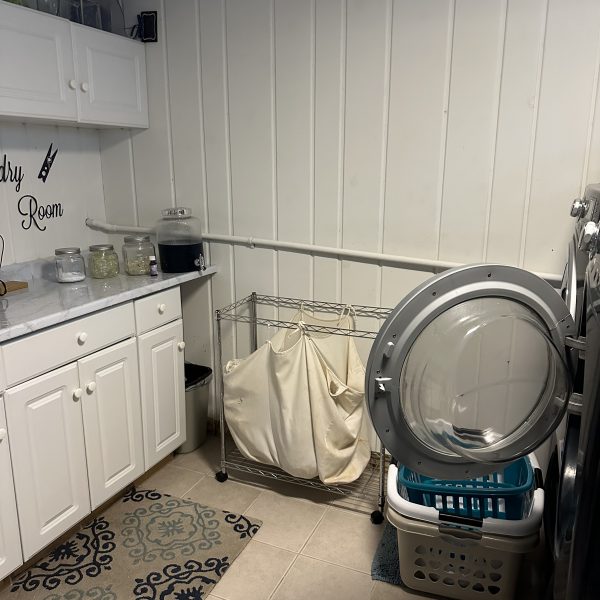
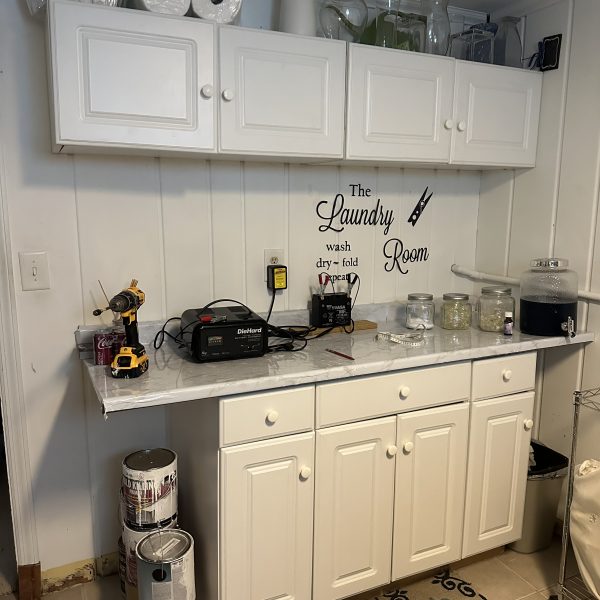
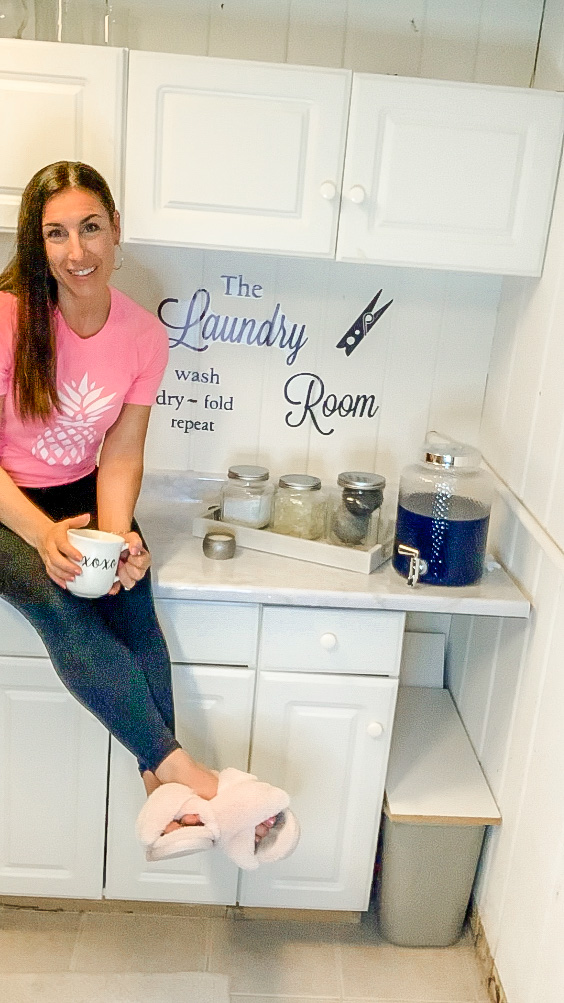
Believe it or not these white cabinets where the original kitchen cabinets when Ryan bought this house. He gutted many spaces after he purchased the home and one of them was the galley kitchen. He saved these cabinets and put them in the laundry room for storage and they have been chilling here ever since.
My number 1 tip to transform or give life to any space is PAINT. Its become my bestie as I have literally painted every room in our house (almost)! But paint goes a long way. It’s really not that expensive. Especially if you are not changing out furniture or big items the color alone can make a space or item look totally different. Walls are Pure White and Trim is Extra White.
Click Here to See Step 1 complete!
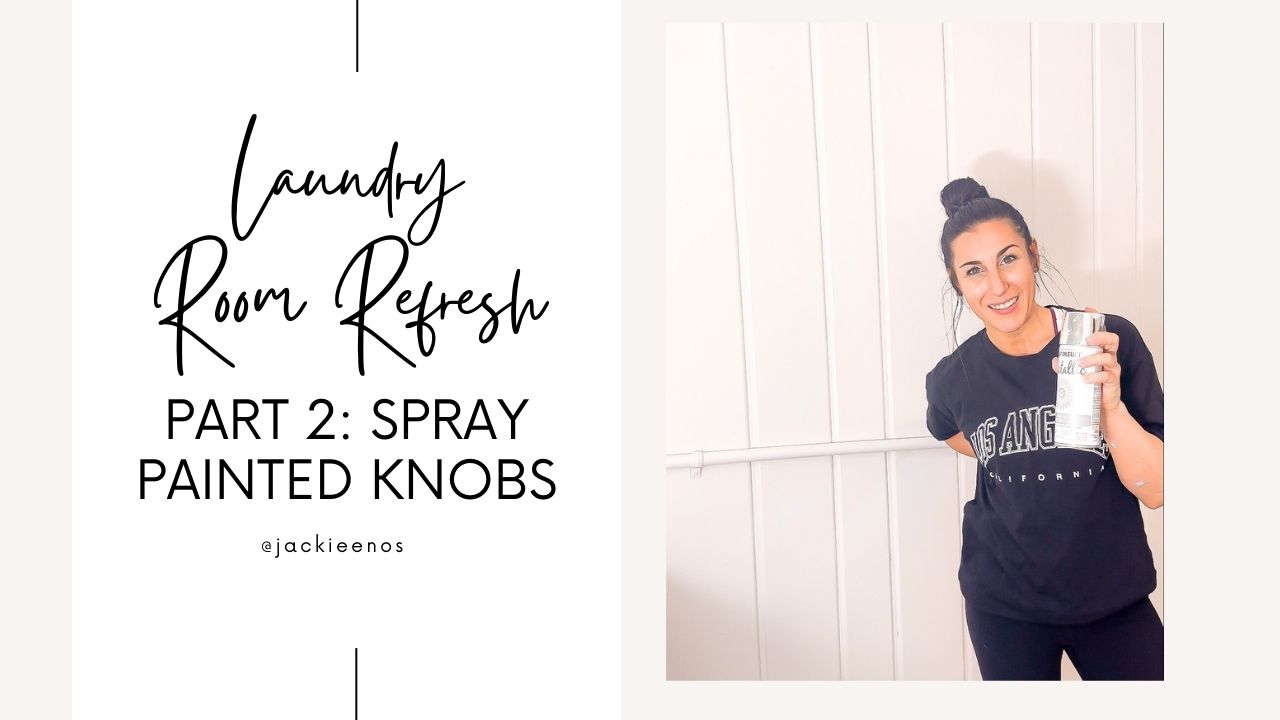
Step 2: Spray Paint
I love spray paint. Ive used Rust-Oleum multiple times in the past. I sprayed the old handles on our entry way table, you can see the handles in this REEL. I sprayed the old hall mirror, and many other times. I actually ordered these knobs first. But they did not fit the old screws on the cabinets and I did not want to remove the old screws. So this saved me $ and was another fun DIY.
I do recommend you open a window or spray outside.
(Click to watch)
Step 3: Build new laundry sort & drying rack
Our old sort was falling apart. I could not find replacement bags that fit this space. I also did not like have the big drying rack on the floor take up so much space. So this makes it simpler, cleaner, more stylish and gets the job done.
I can paint all the things but putting things together is my WEAKNESS!!!!
I was so impressed I put this together on my own. Seriously it was so easy!
(Click to Watch)
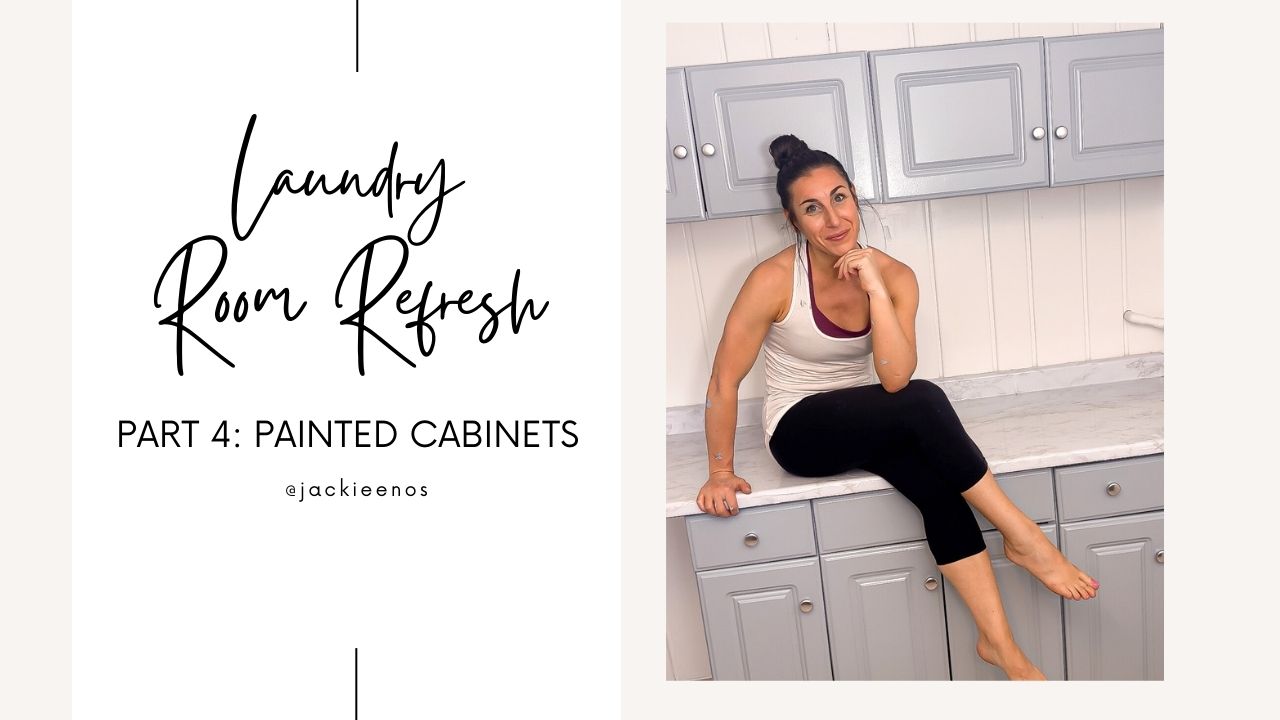
Step 4: Painted Cabinets
As I shared earlier, these old cabinets were looking rough.
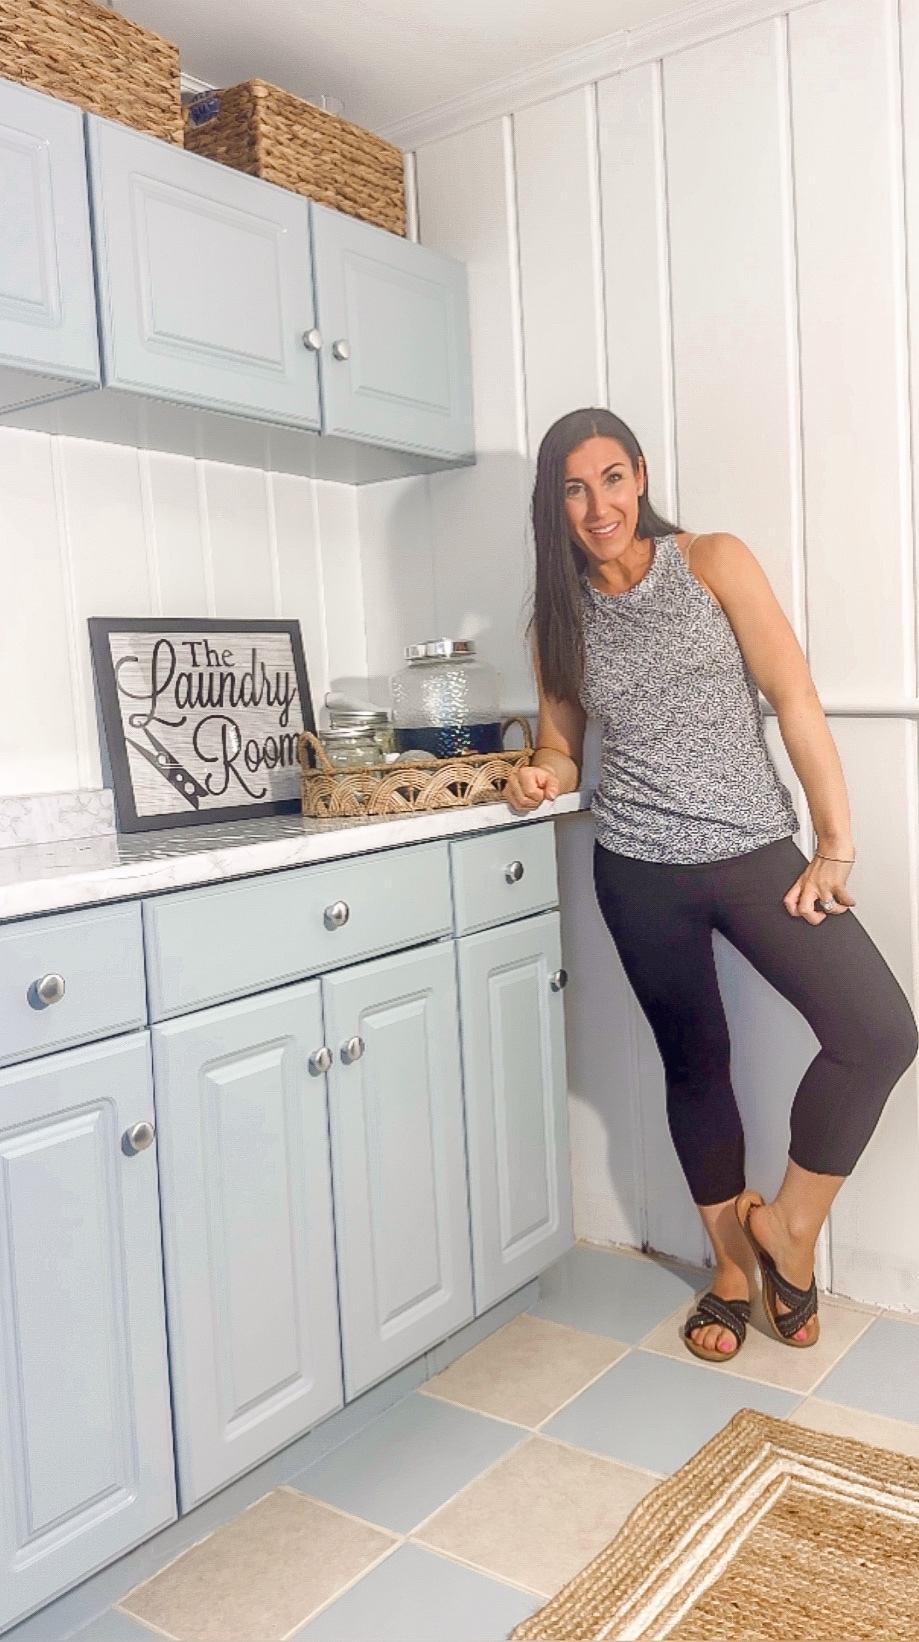
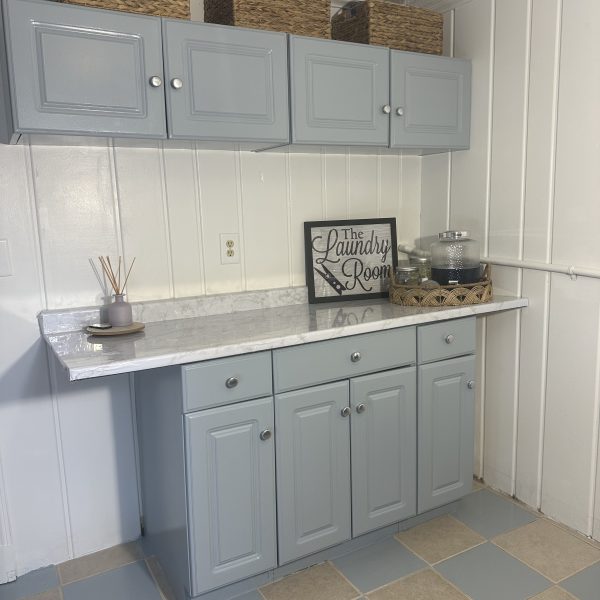
The week before I painted I scrubbed and cleaned them. I then sanded them. I then used Sherwin Williams Stardew cabinet paint. It’s such a beautiful color. While most of my house I keep neutral this to me is still a neutral shade of blue. How stunning do these look????
Click to Watch cabinets come to LIFE
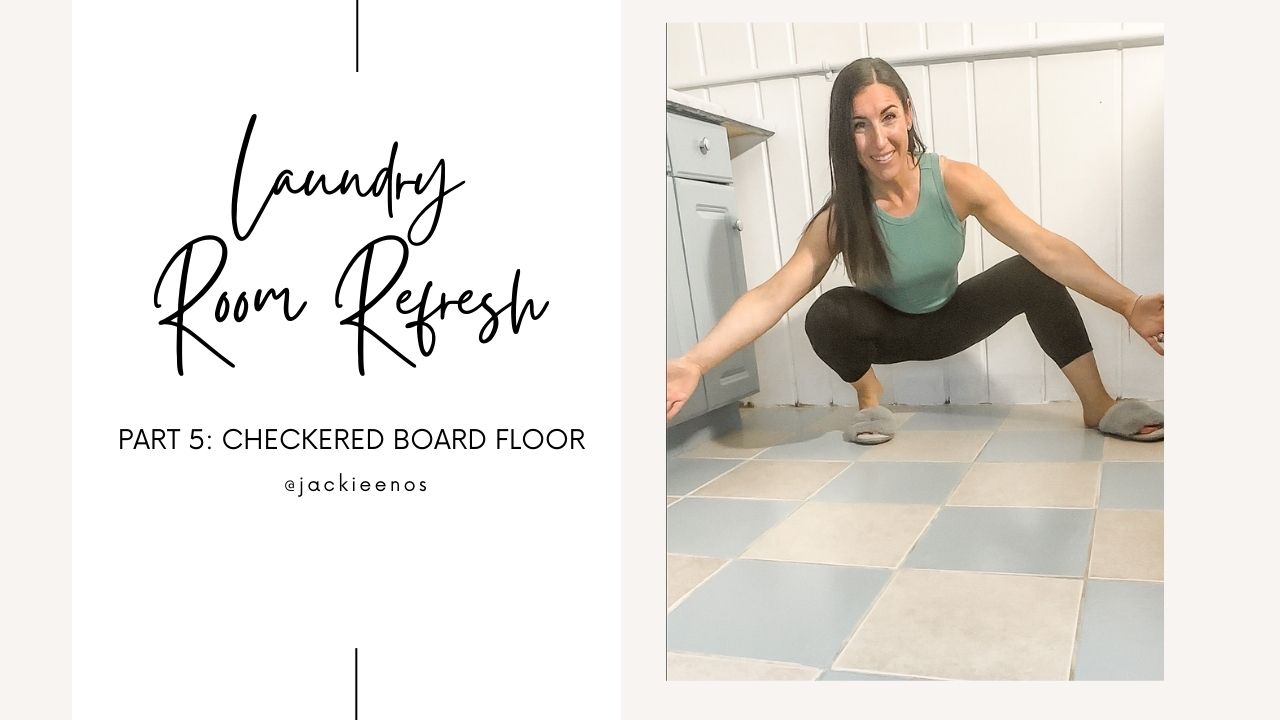
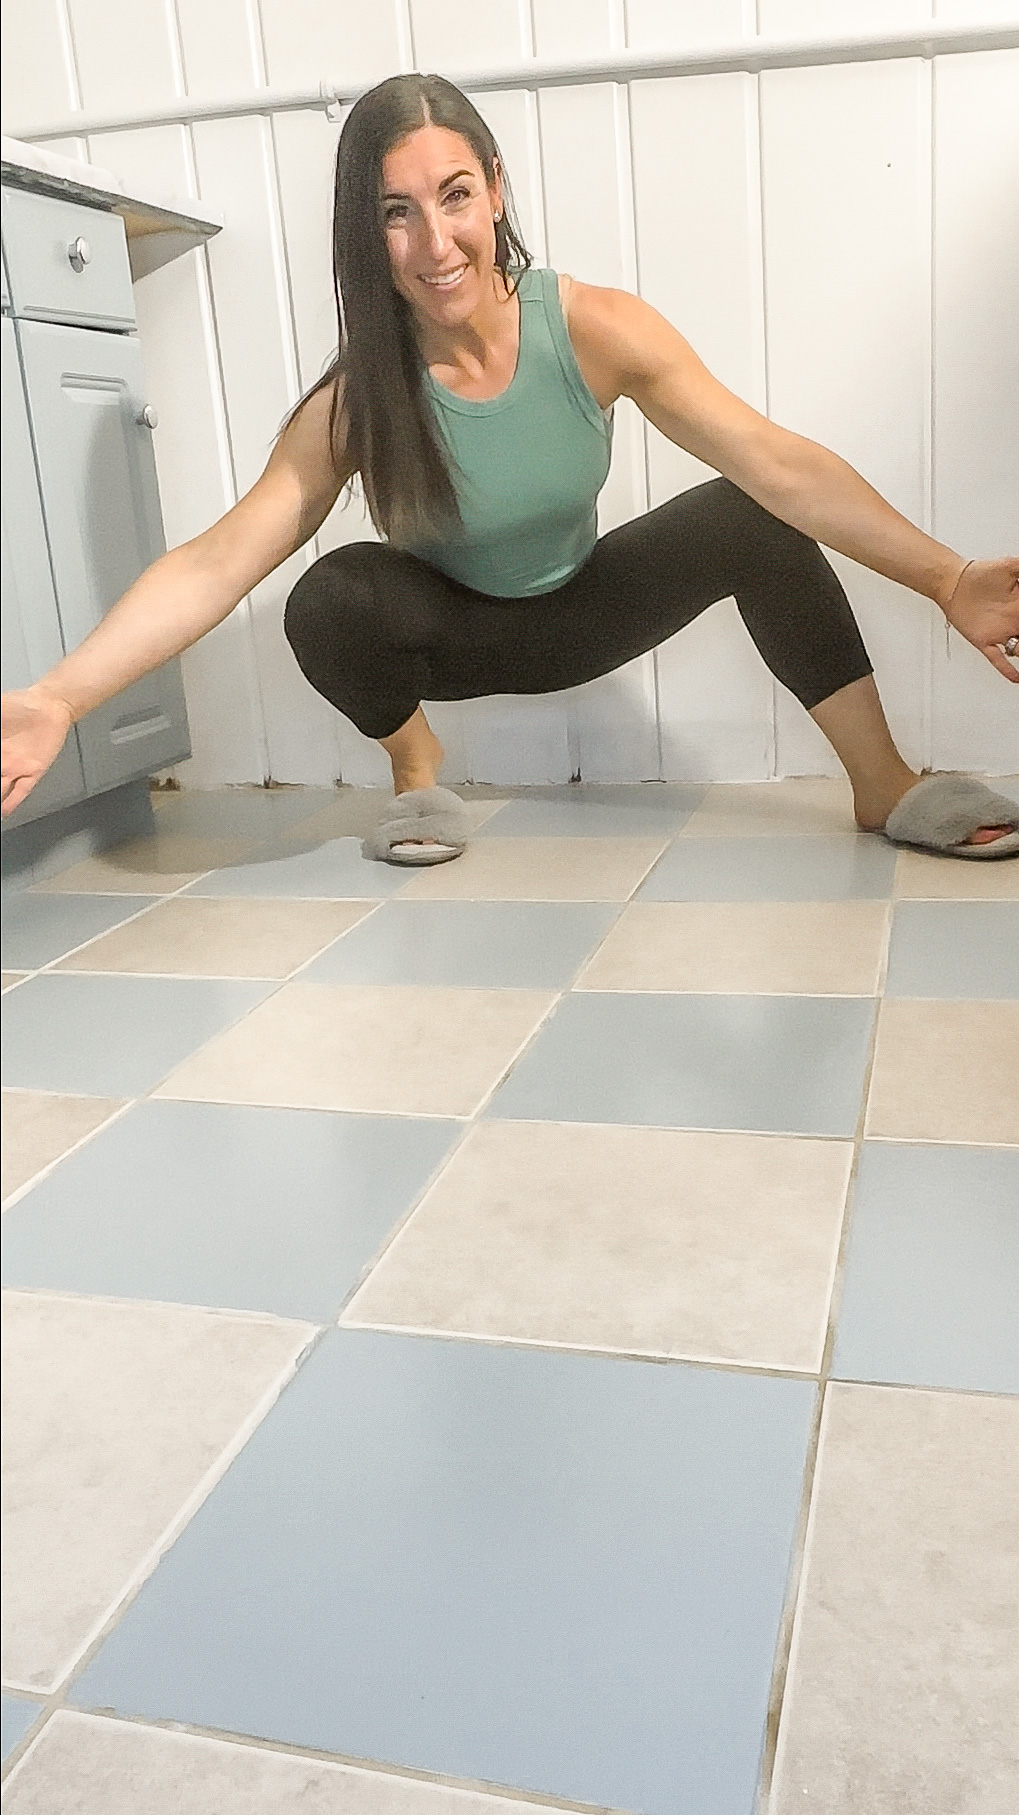
Step 5: DIY checkered board floor
I have become obsessed with all things Checkered board floors. Since I wanted to save money on this project I ended up not getting any of these peel and stick tiles. Option 1, Option 2, Option 3.
I read online that enamel paint is best for tile floors. Since I already had this can of cabinet paint it made perfect sense to get more use out of it and paint the floors.
-
Floor tips. Clean the floors well.
-
Take your time taping off the squares – I love FROG TAPE the green one
-
A smaller roller
-
Have fun
(Click To Watch)
ITS DARLING!!!!!! I am in LOVE!!!!!
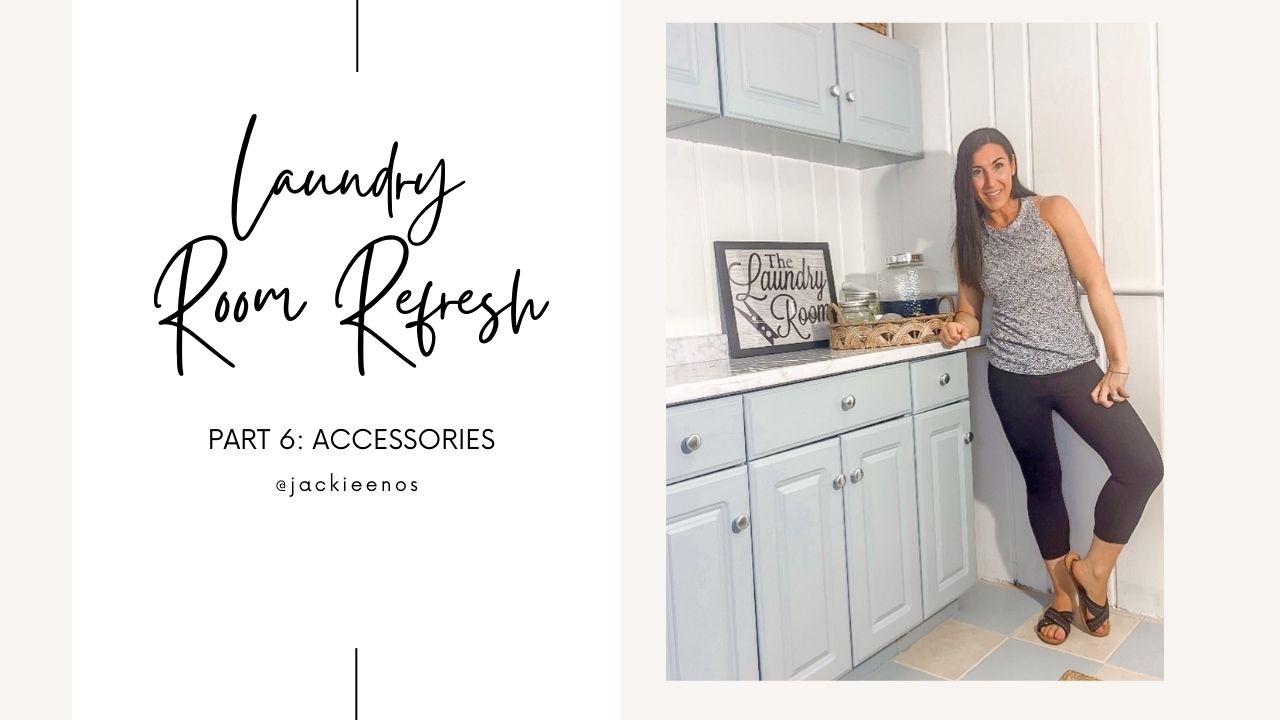
Step 6: Accessories and Final Reveal
Yes I did all of this in 4 days and you can too. While the walls were drying I worked on spray painting the knobs and putting together the laundry rack. I actually worked on a second project in another room while the cabinets were drying. I also began taping off the tile floors while I put a second and third coat on the cabinets. Make every minute count. I also was ordering the accessories while things were drying so they would be here for the final touches!
Click to watch it come to LIFE!!!!
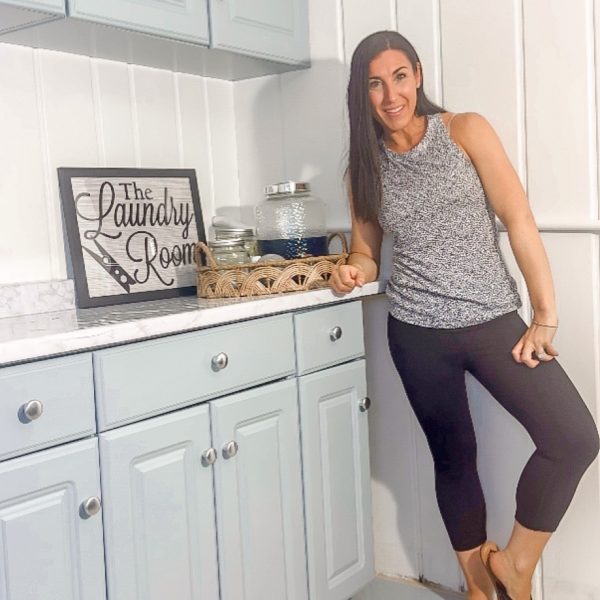
CAN YOU BELIEVE ITS THE SAME SPACE????!!!!!
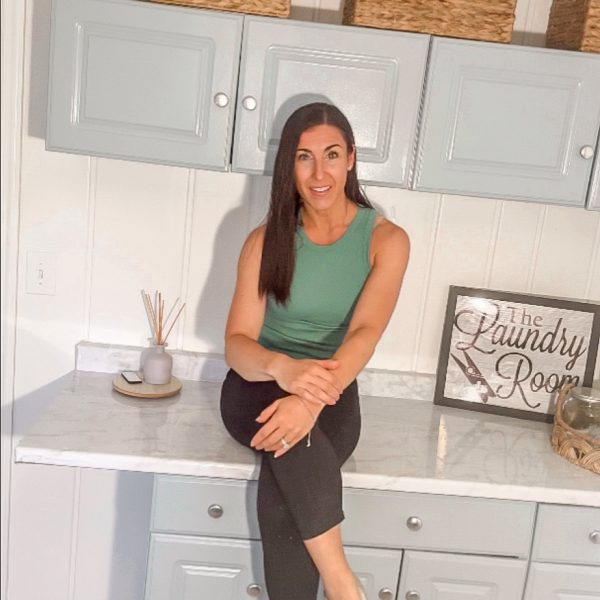
For the storage above the cabinets and behind the washer I used these (medium or large size) BASKETS
For similar baskets here are a few options
For the floor mat I got mine from At Home Stores – Jute Rug
I got the round counter basket from Homegoods but linked a few similar here
Ive had my laundry PODS in these jars for a couple years now. We don’t use liquid detergent anymore but here is the giant storage jug.
Years ago I used marble contact paper to cover the old ugly green counters.
I also had these cute wall stickers up. I took one of our old frames, and left over peel and stick wall paper and did a little DIY laundry room sign.
If you follow me on social or my LTK you know how much I love LIL and have their candles, diffusers and room sprays in every room. They are non toxic. They don’t give you a headache. When I buy the cheap brands from the store my husband always gets a headache but not from these.
Don’t sleep on their perfume rollers either. They are perfect for travel or in your purse.
The scent I have in the laundry room is Take Me Away
I say it all the time. Make your spaces YOURS. I truly am on a mission to love all the spaces in our home.
While I can’t always change the structure or items, I cant make it my style and a place that brings me joy.
I never go in our basement except to do laundry and this room brings a smile to my face now every time I enter it!
I hope this inspires you to start making your HOME a place you LOVE one small DIY at a time!
What was your FAVE part of this Laundry Room Refresh?
Your Comment Form loads here



Comments will load here